There are a bunch of cross cut sled videos and articles out there. I thought I would simplify it a little and discuss the basic anatomy of a sled and then build a very basic, plain sled to show how it goes together.
Anatomy:
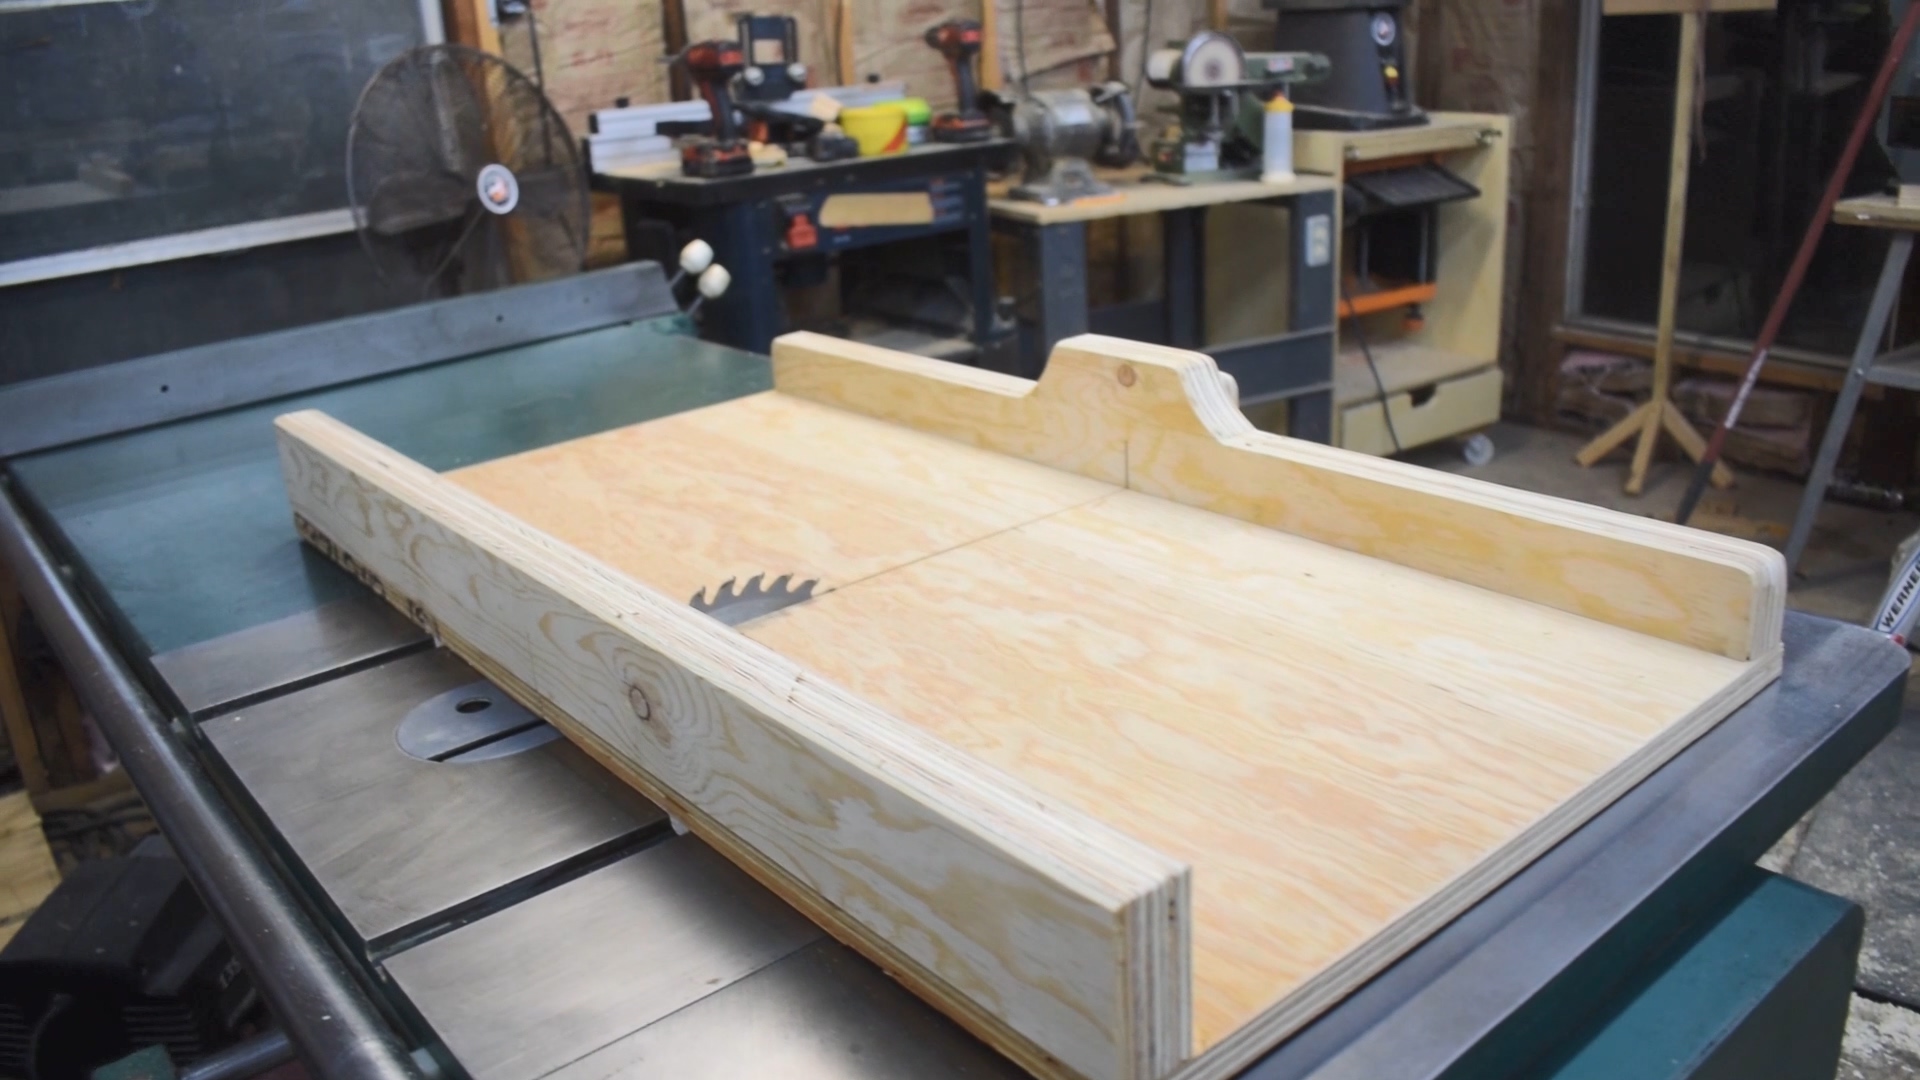
Most sleds have this basic set of parts.
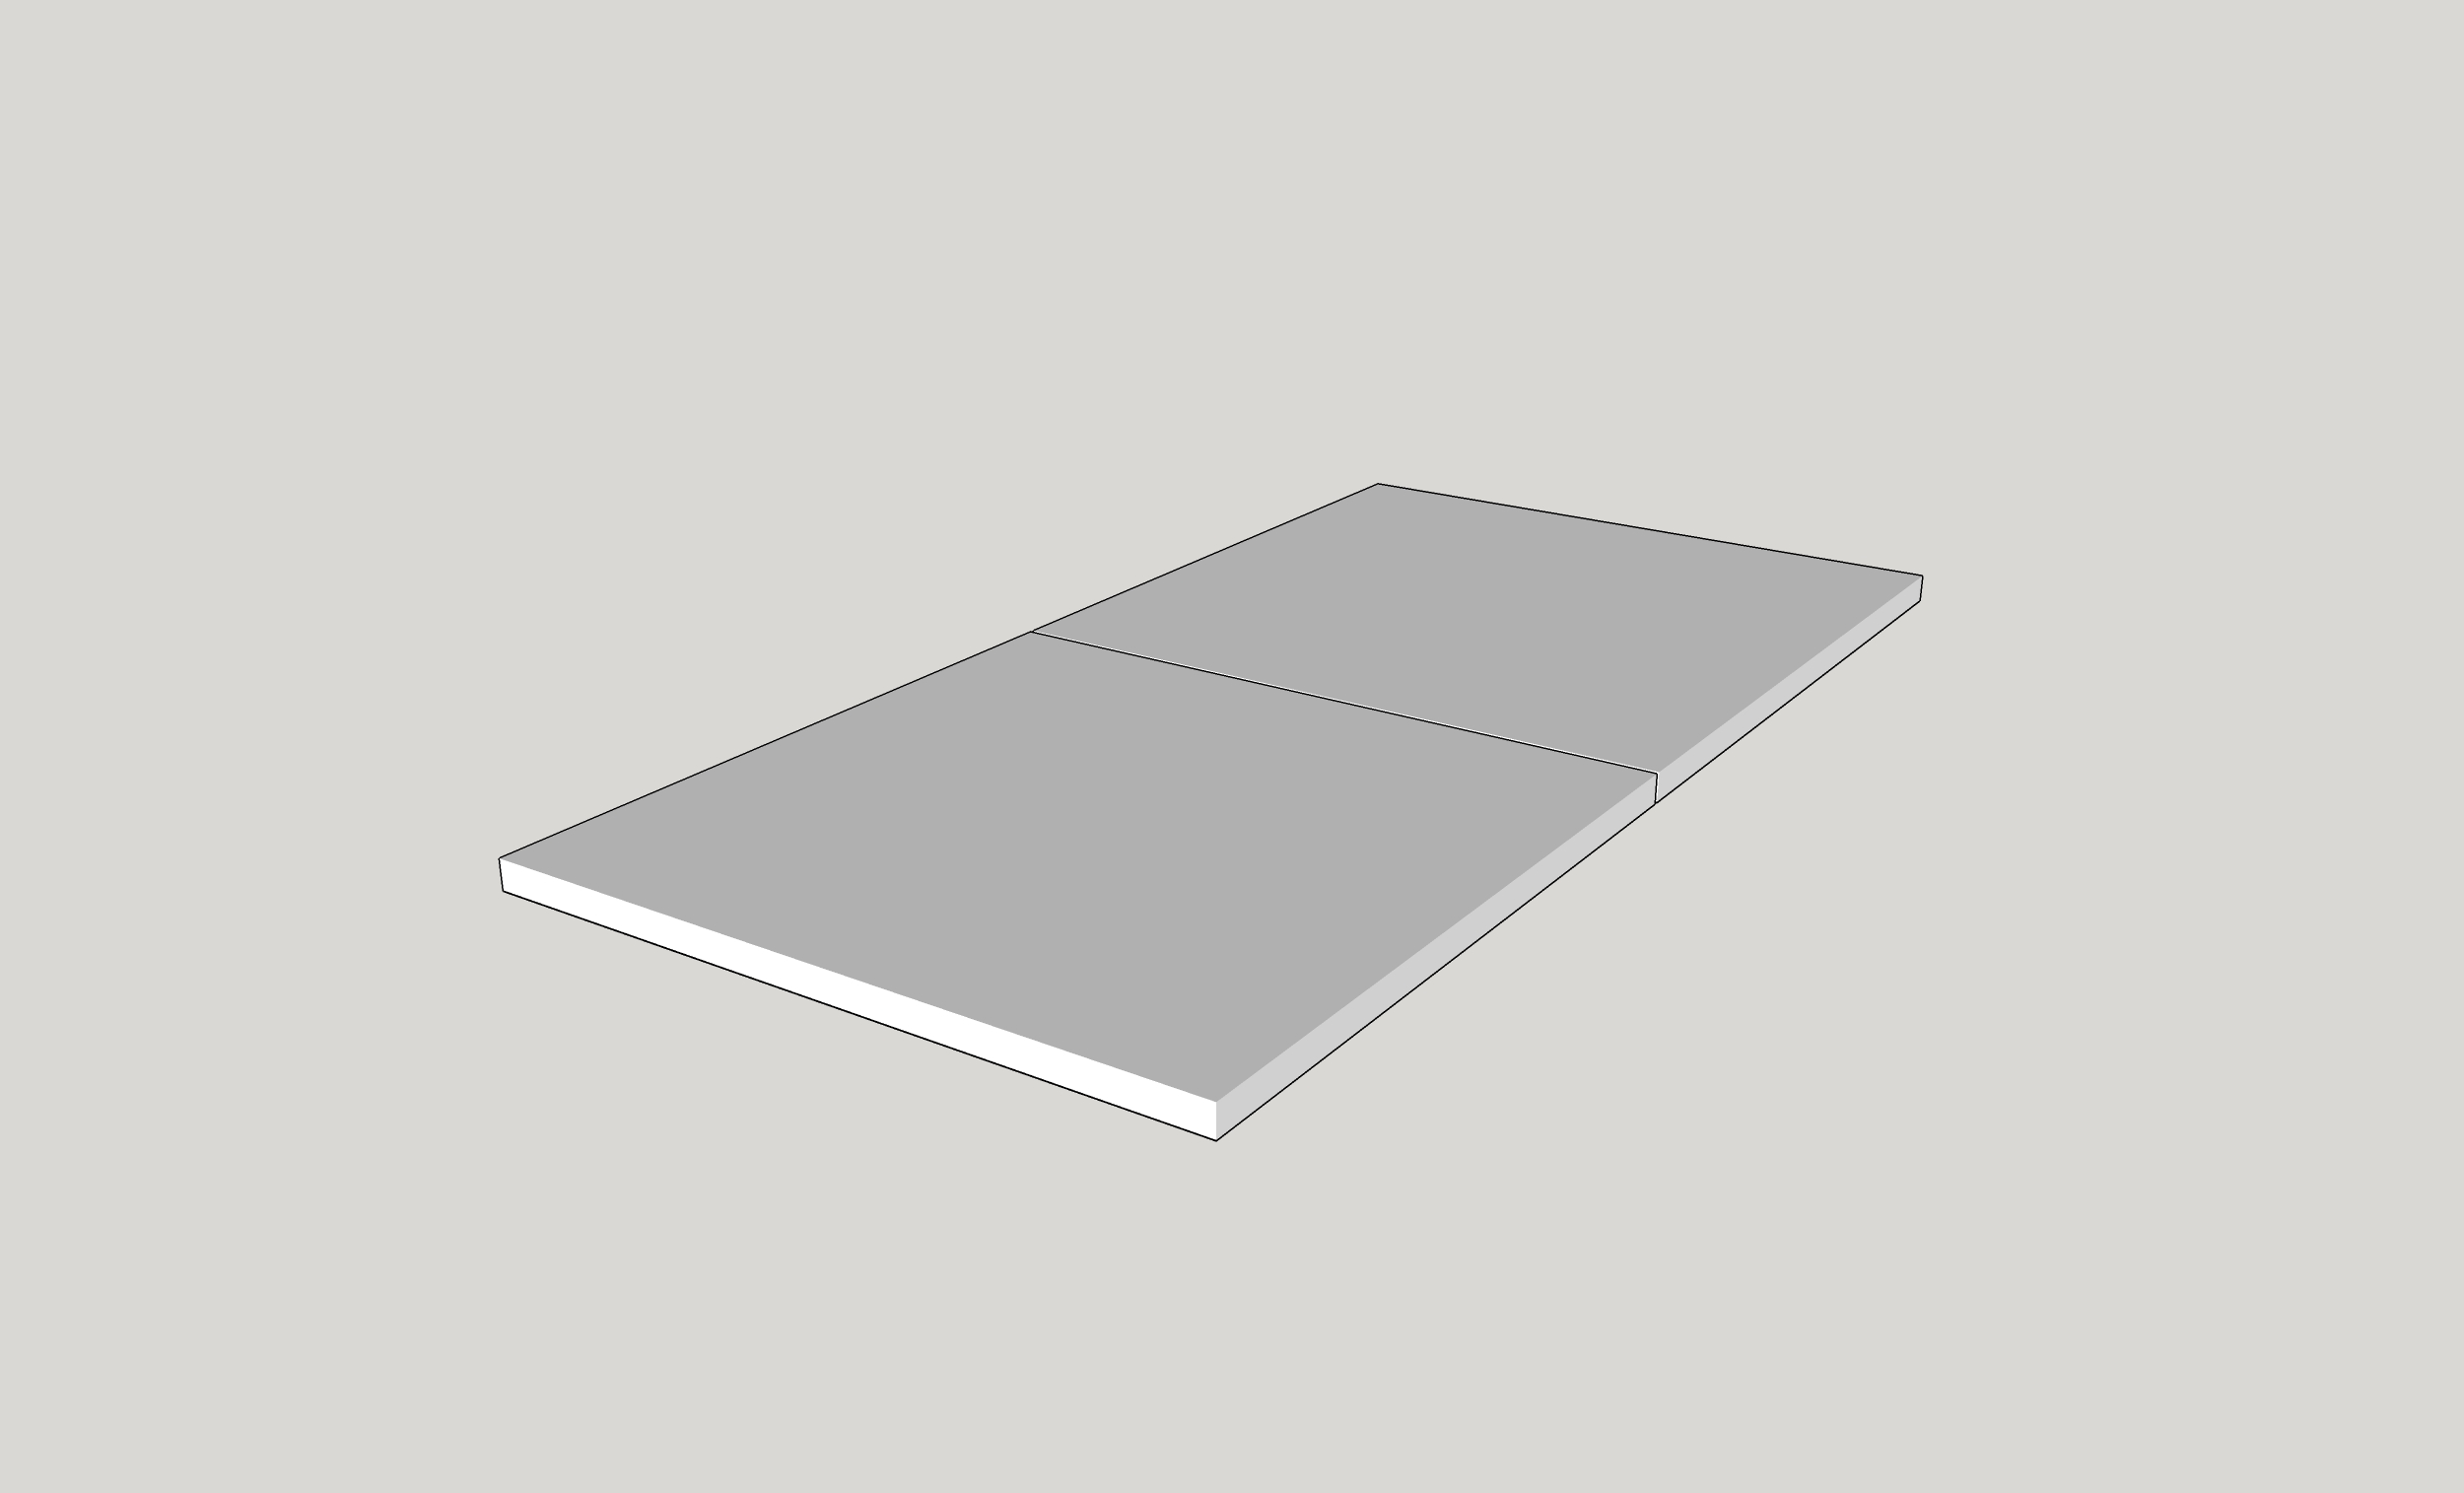
 Bottom with rails attached that match the slots on the table saw
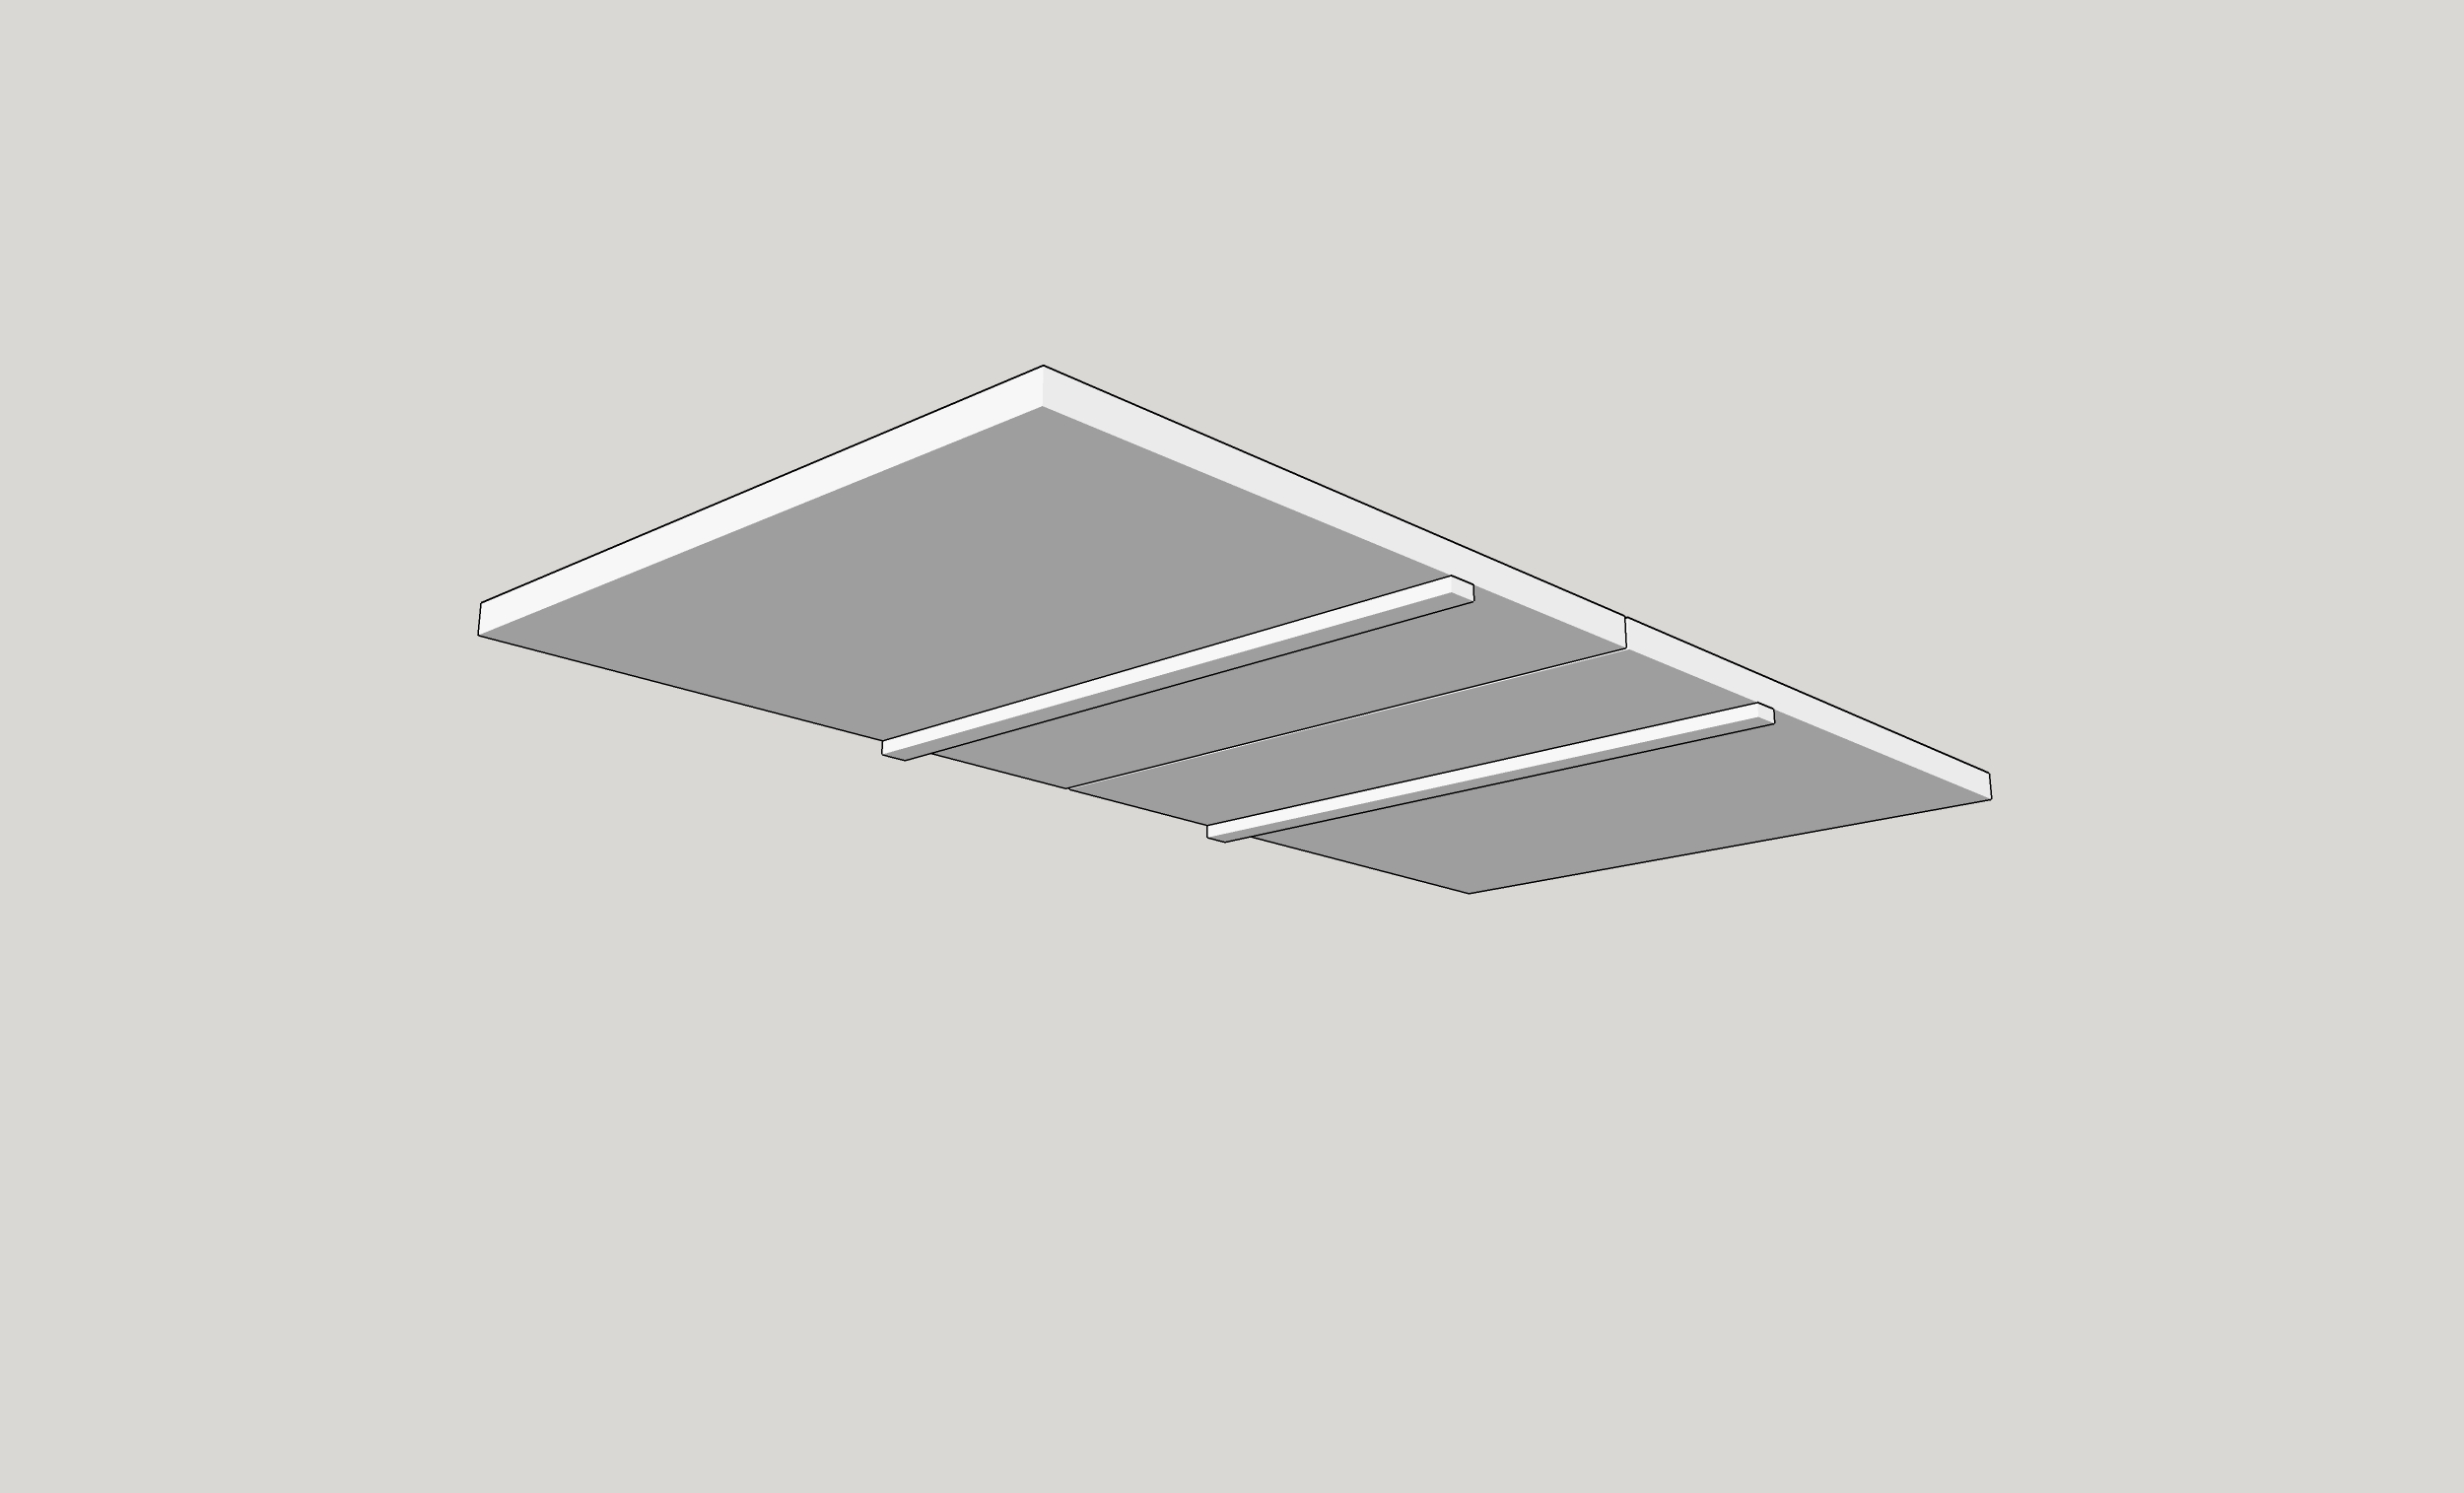
 Front Fence which must be square to the blade of the saw because the piece you will be cutting with the sled will be against this fence. (This name seems backwards to me but they seem to call this the "front" fence, even though it is on the back in my mind.)
 Rear Fence which I have seen sleds without this but most have one.
The Build:
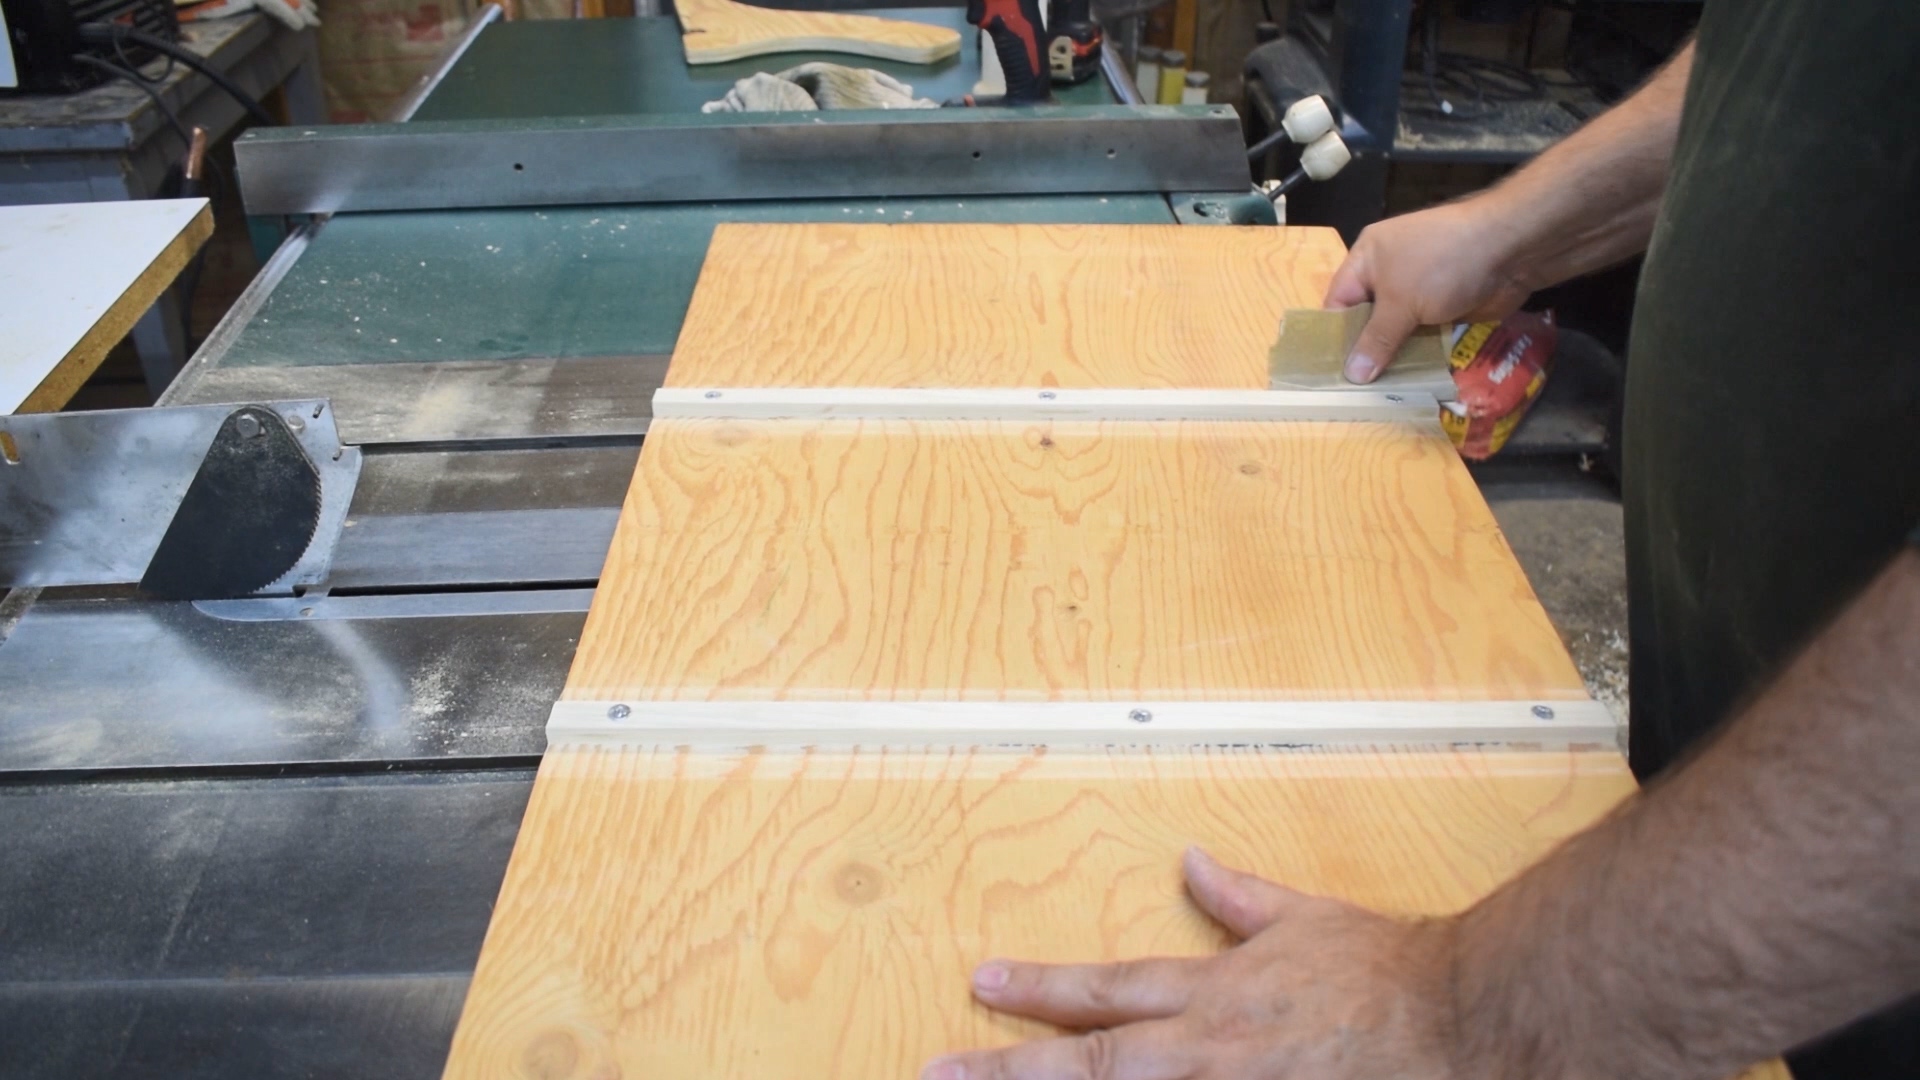
 The bottom I am going to make from this piece of plywood and the rails for the bottom from this little piece of 3/8" poplar.
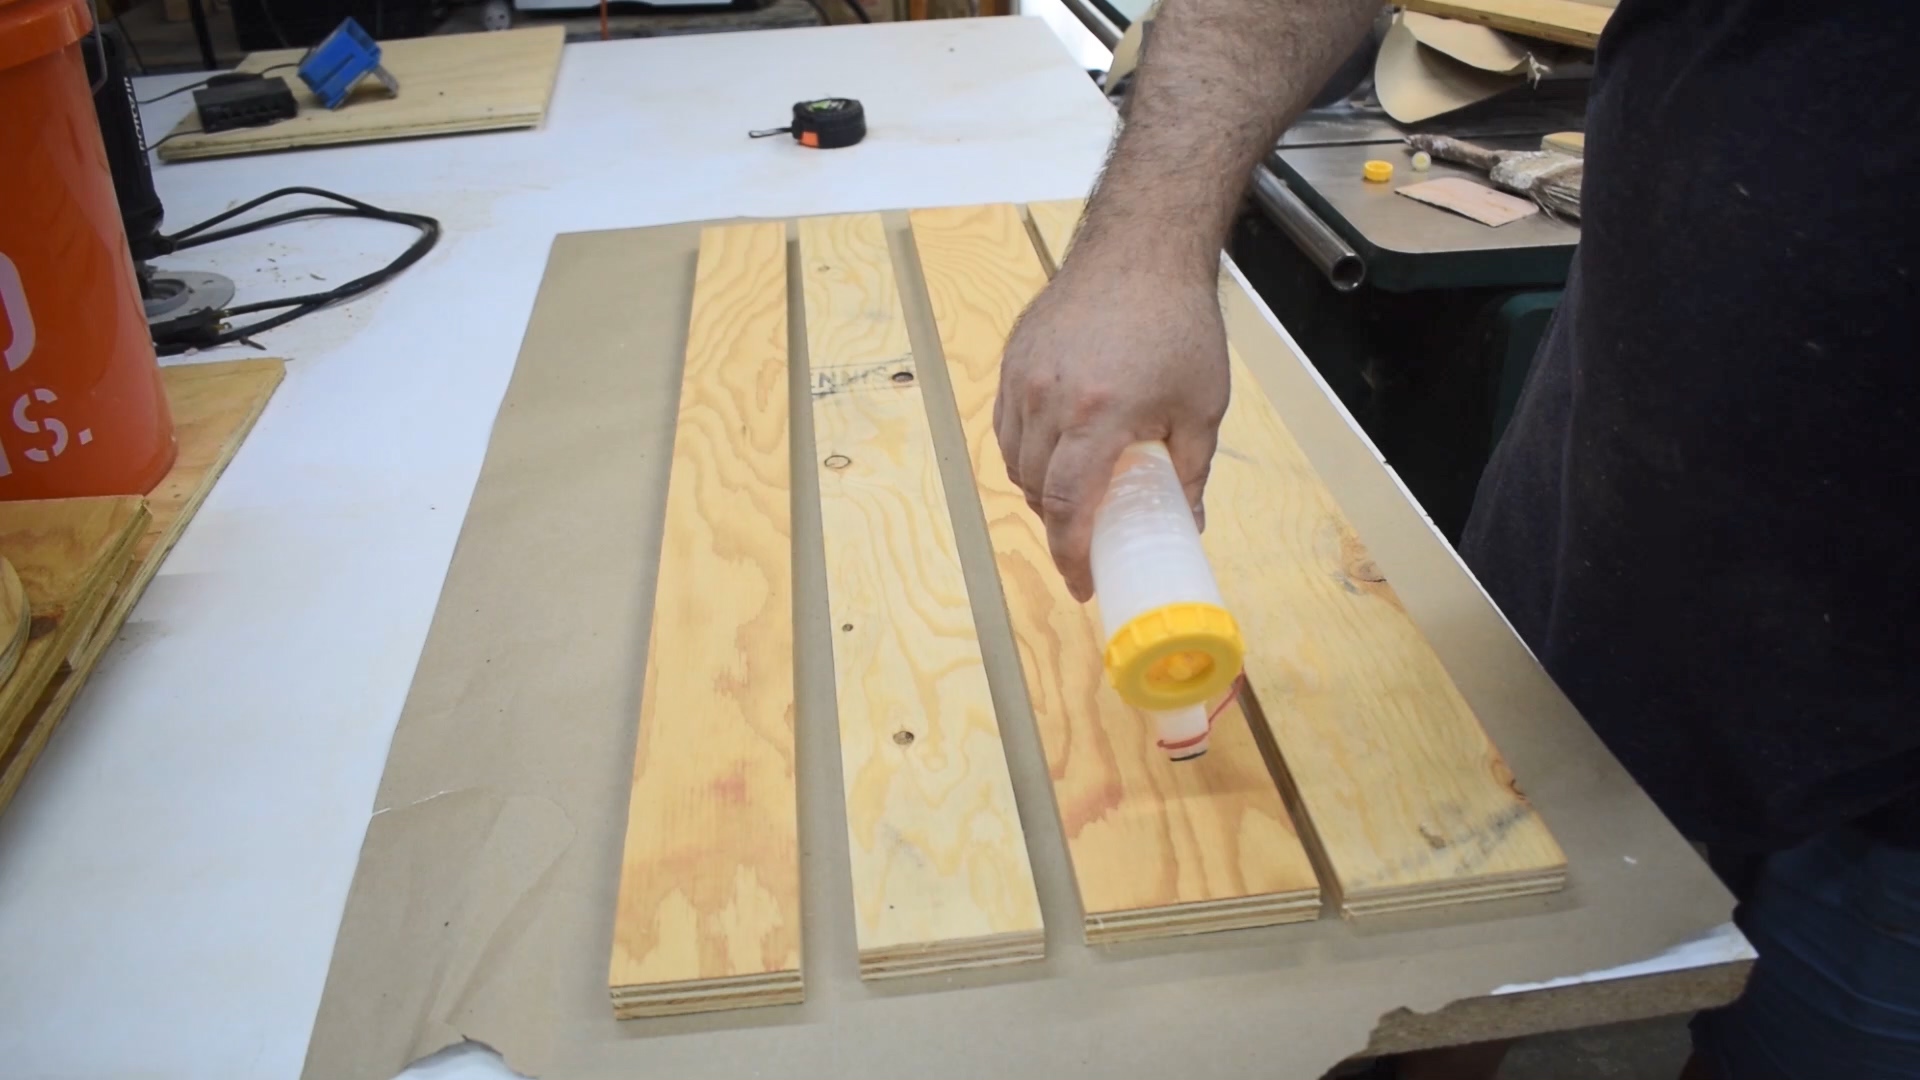
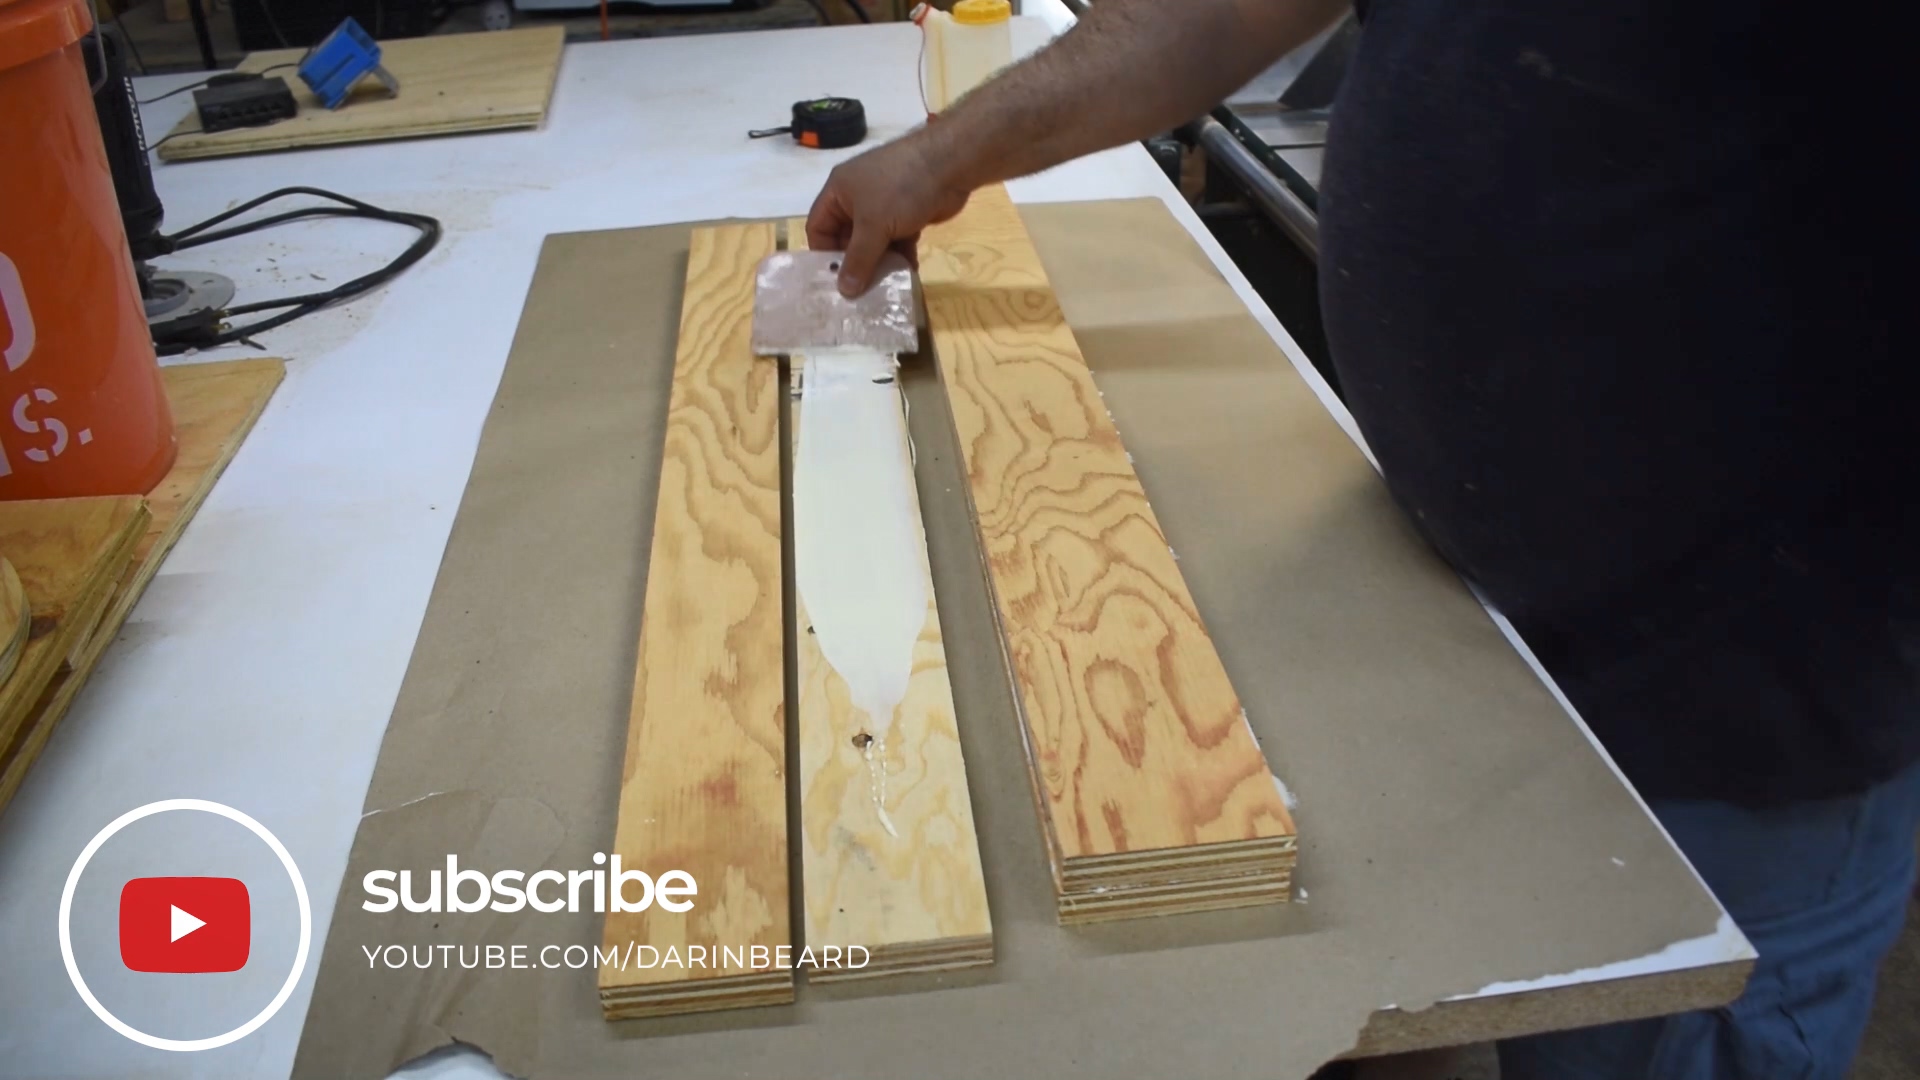
I cut down some scrap plywood into the pieces that will make up the fences. I cut the front fence pieces at around 4" and the rear fence at around 3". They do not have to be a precise measurement.
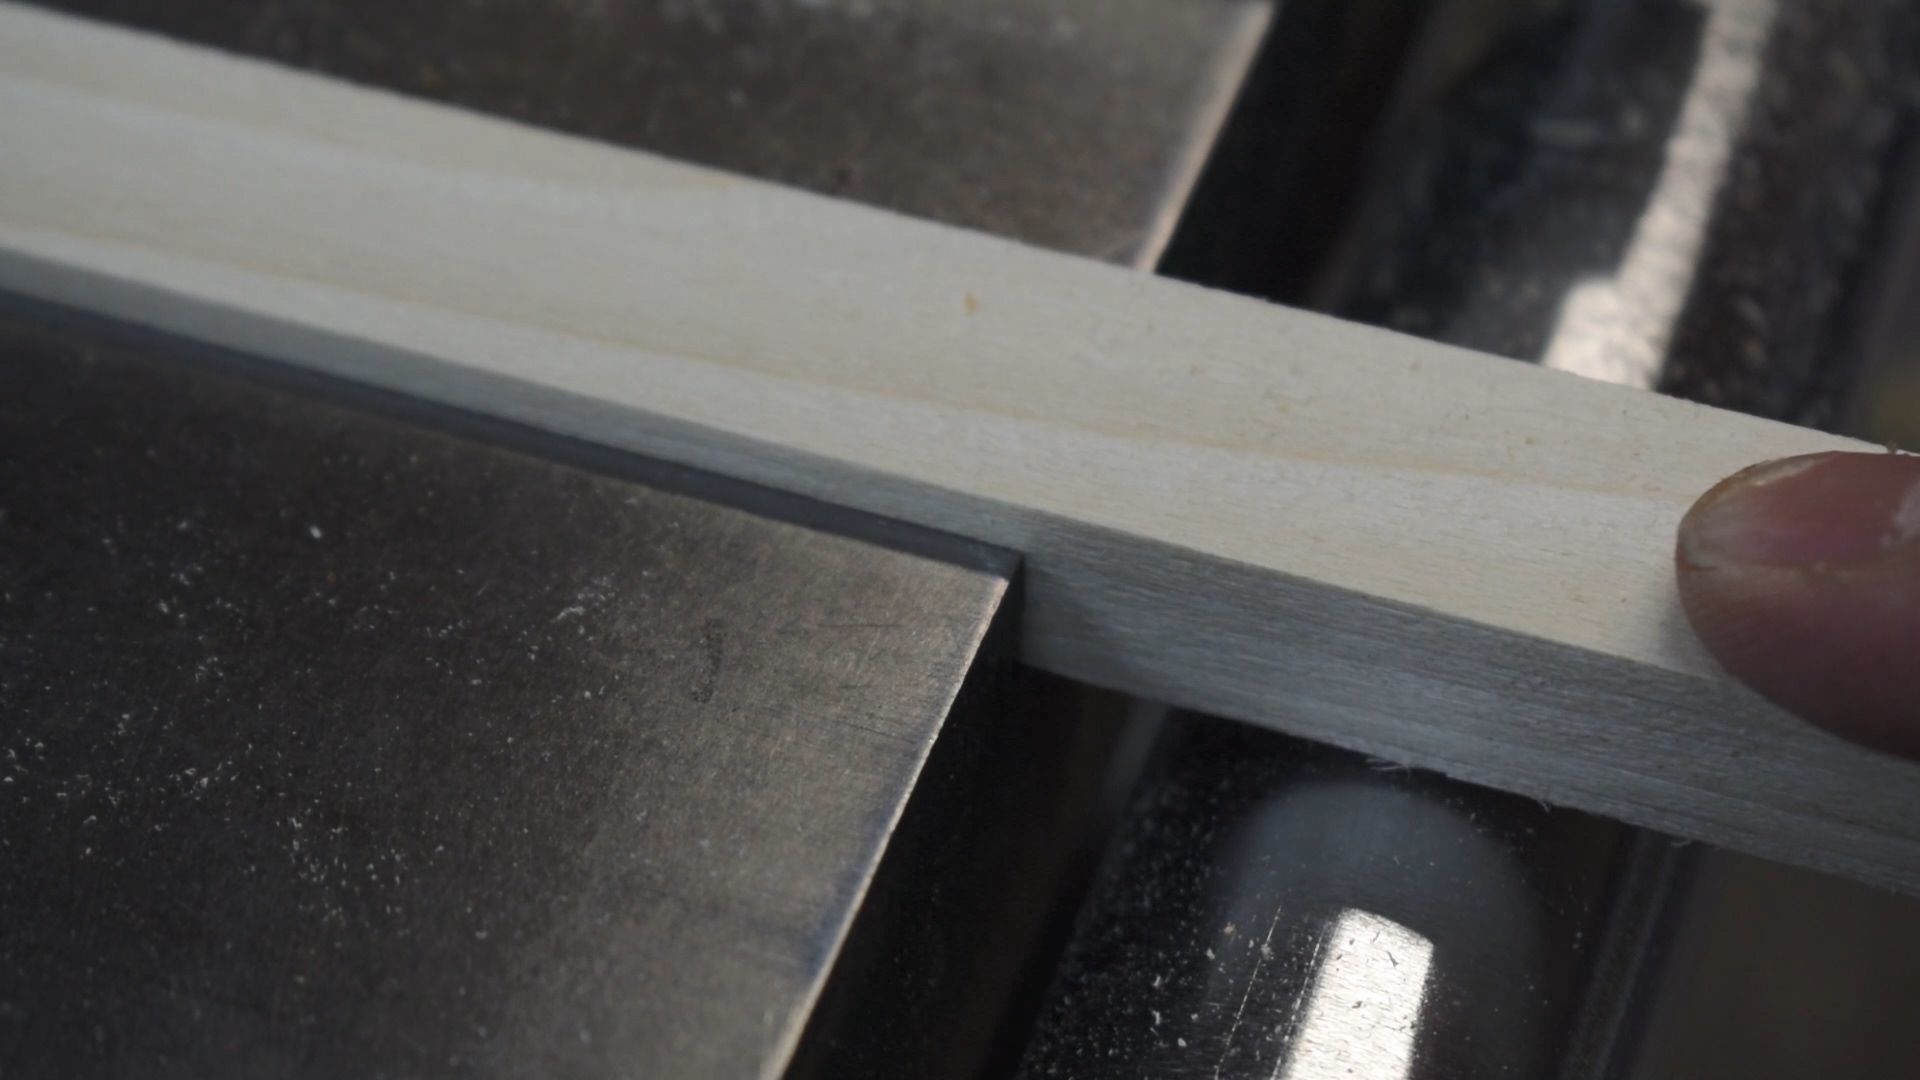
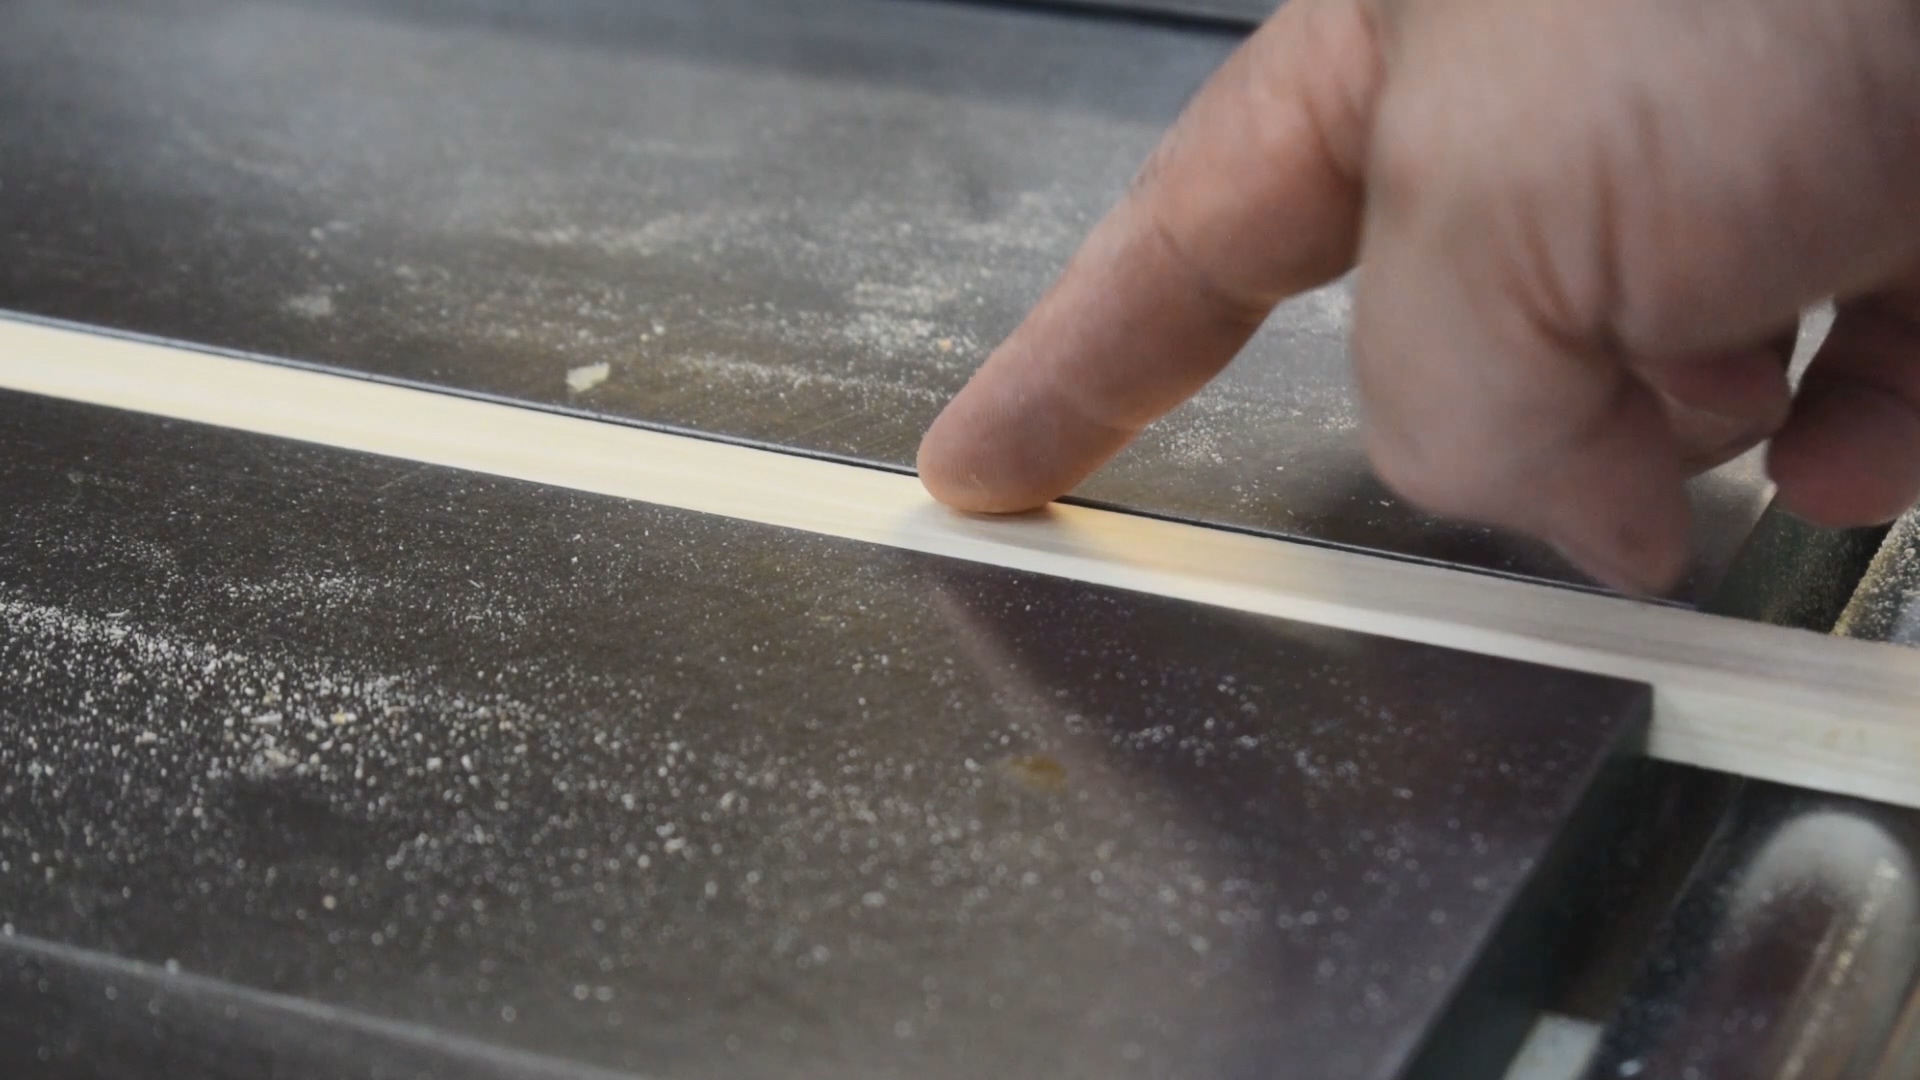
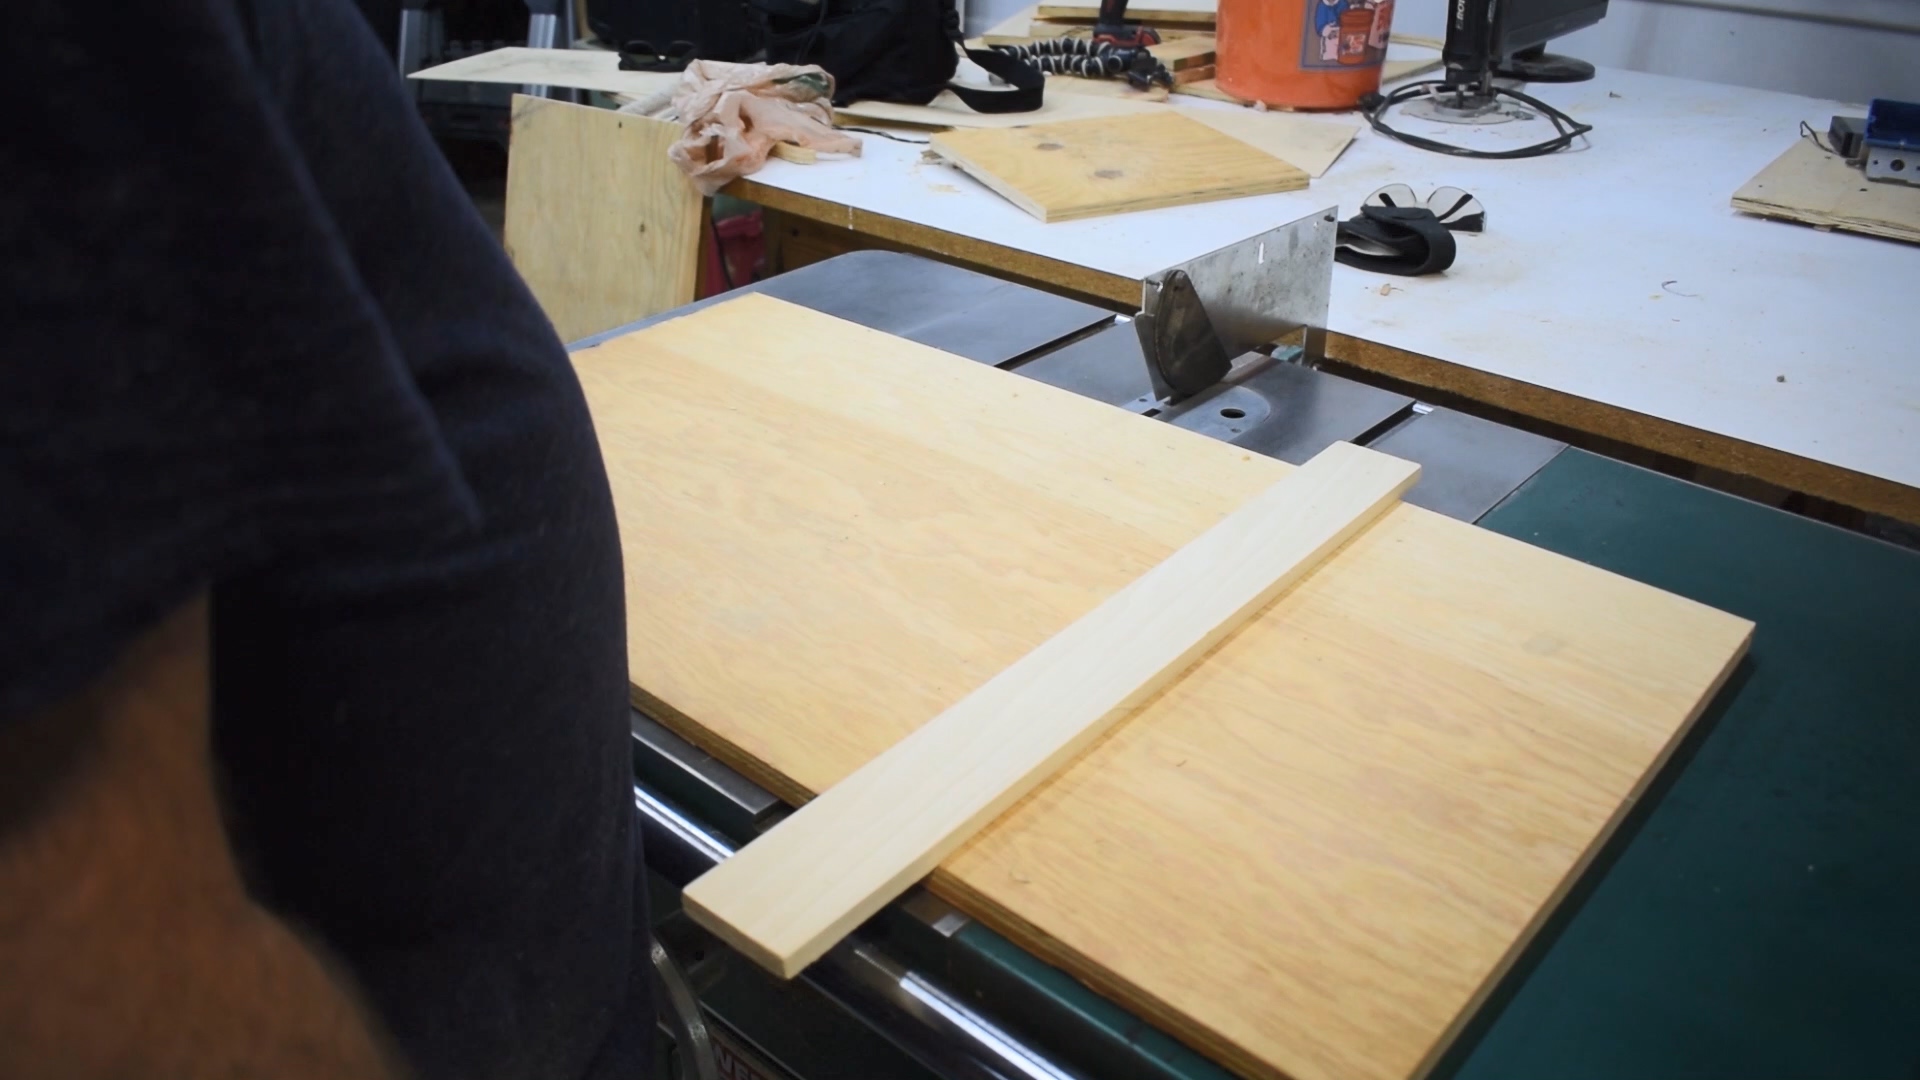
I then ripped down the poplar to be the exact width of slots in the table saw top. It is important that these are a perfect fit. If too loose they will wobble and the sled will not travel true. If too tight, the sled will be hard to move. I used calipers to measure the slots and then cut them to that size. Better to cut them bigger and have to sneak up on it little by little than to cut too small and have to scrap them. Mine were too tall for the slots. They must be just below the top of the saw so the bottom of the rails will not drag on the bottom of the slot when the sled is pushed across the table saw. So I ran mine through the thinkness planner until they were just below the surface of the saw.
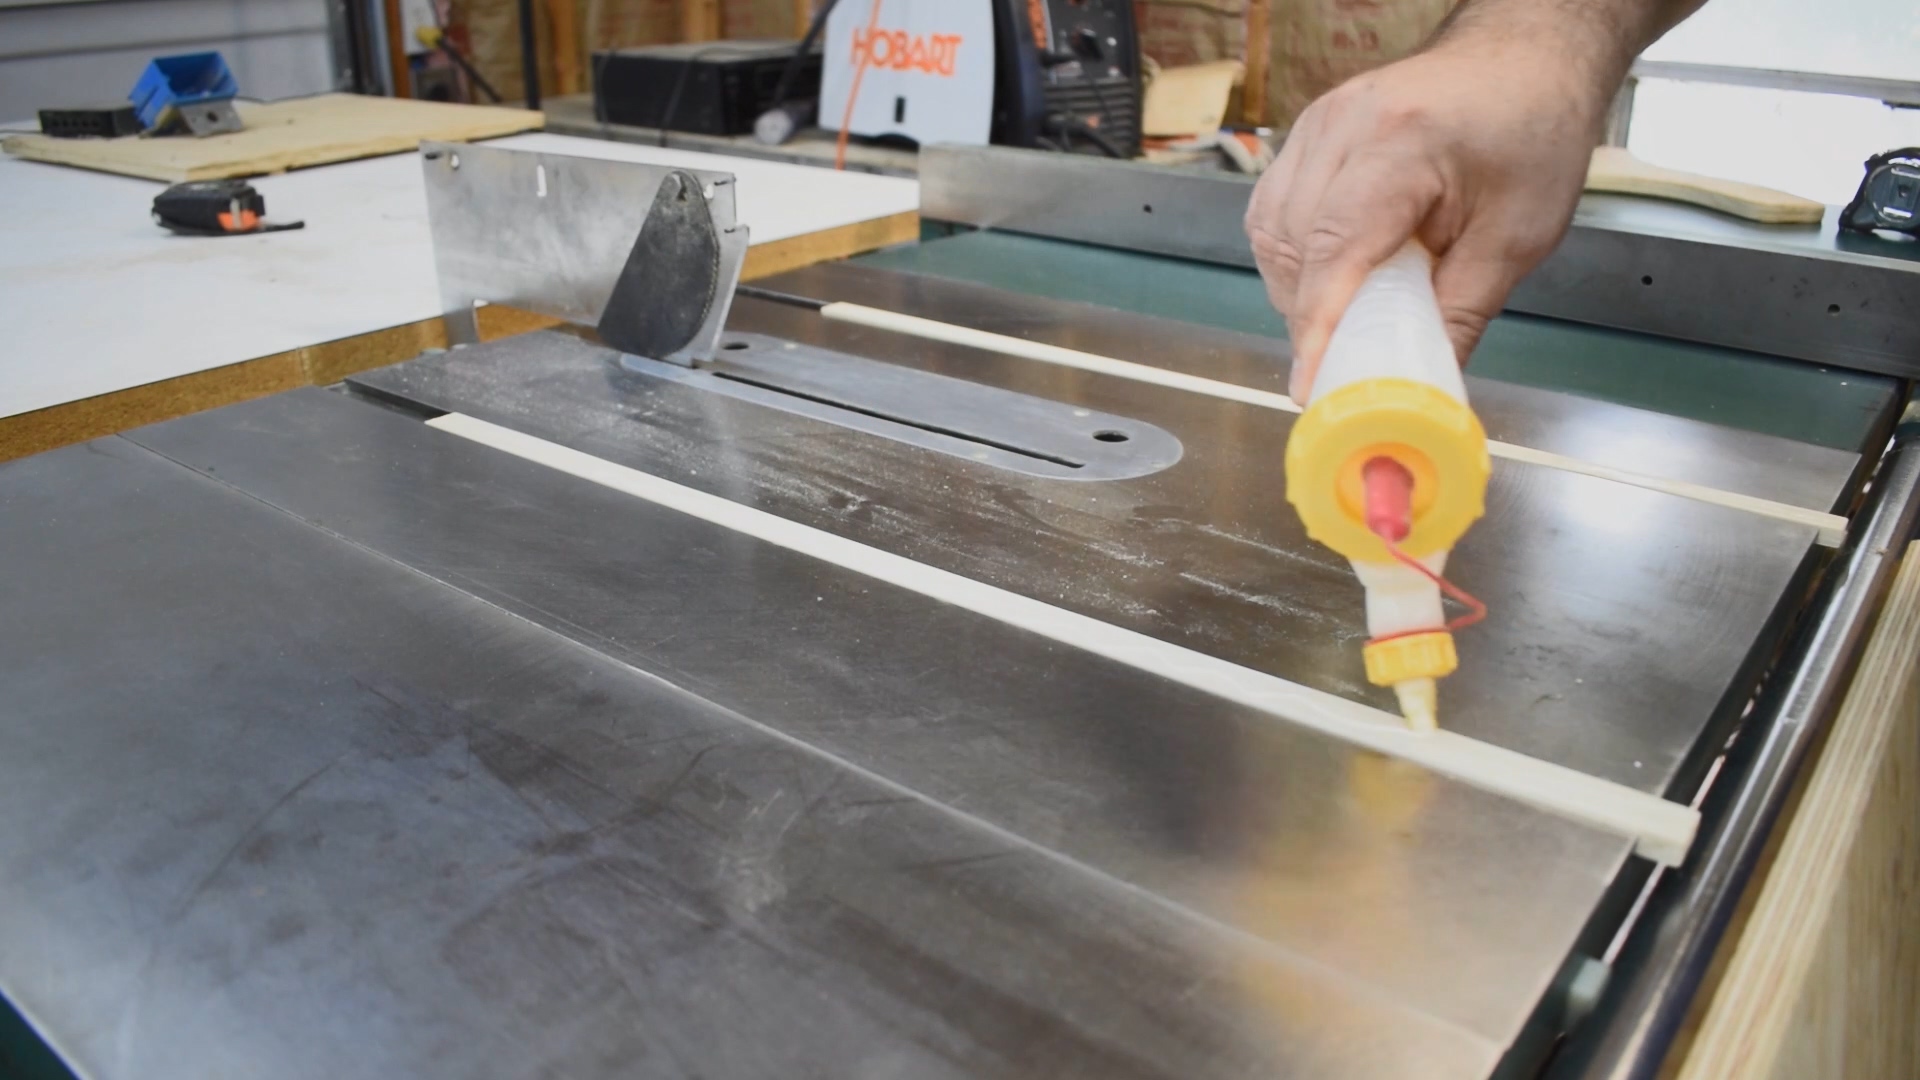
 I dropped some pennies in the slots on the saw so the rails could be lifted above the top of the saw a tiny bit again so we can attach the top. Just a little bit of glue and, using the fence, set to top on them. The fence makes it close to square on the saw. It doesn't have to be perfect here, just close is good enough as this is not what determines a square cut. Add some weight and let the glue dry.
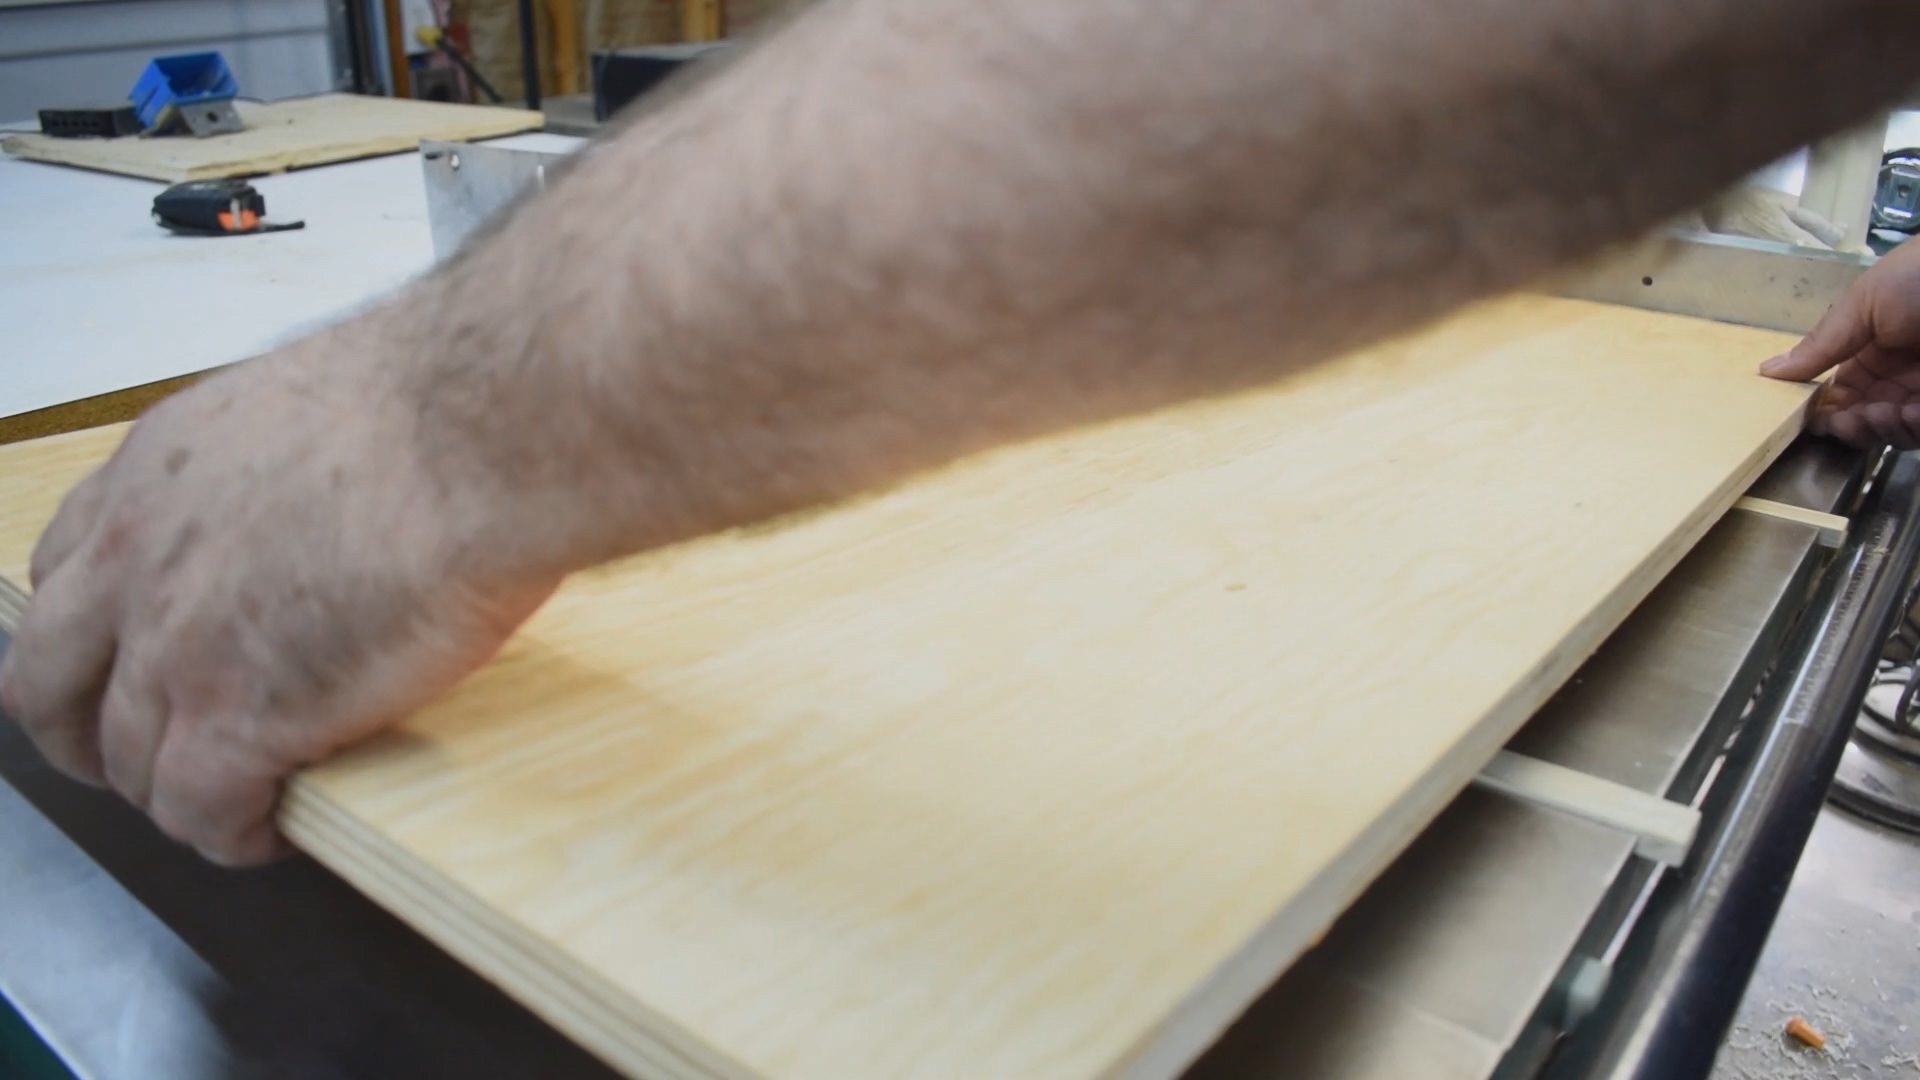
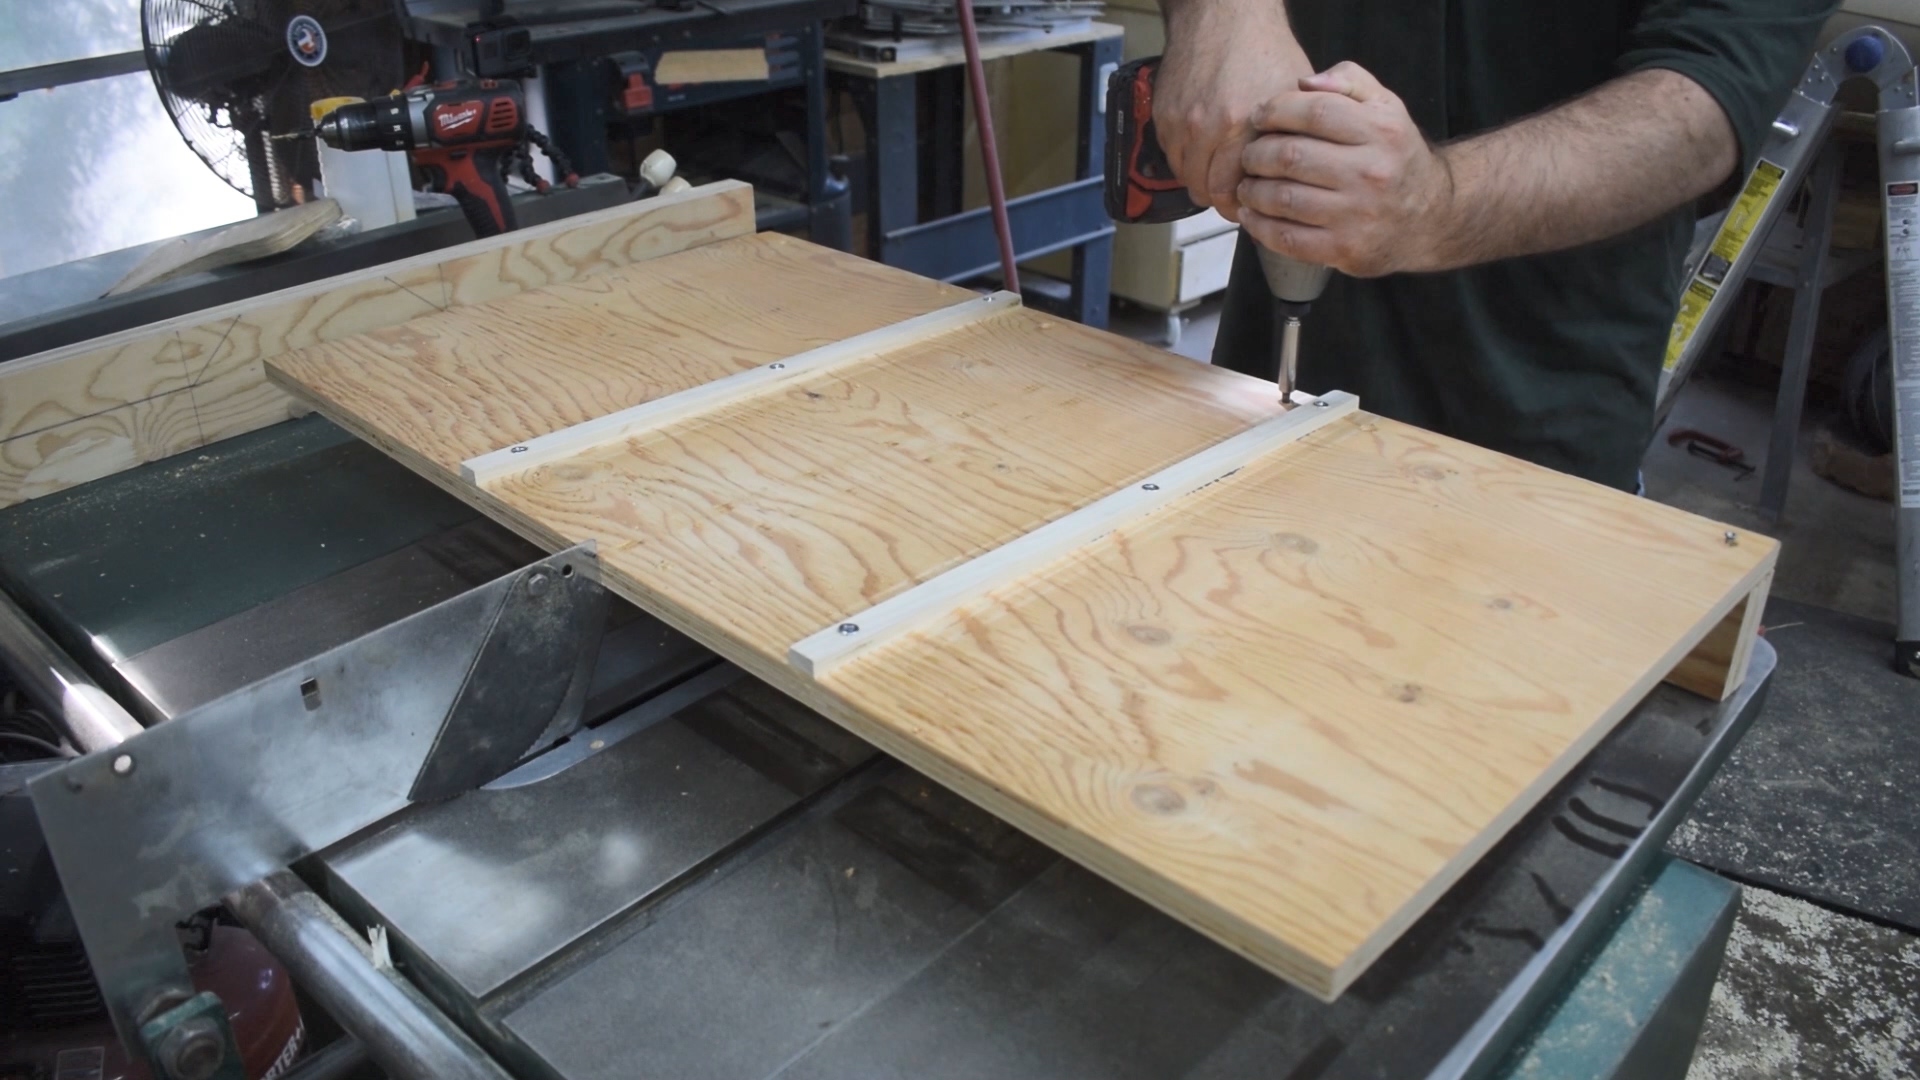
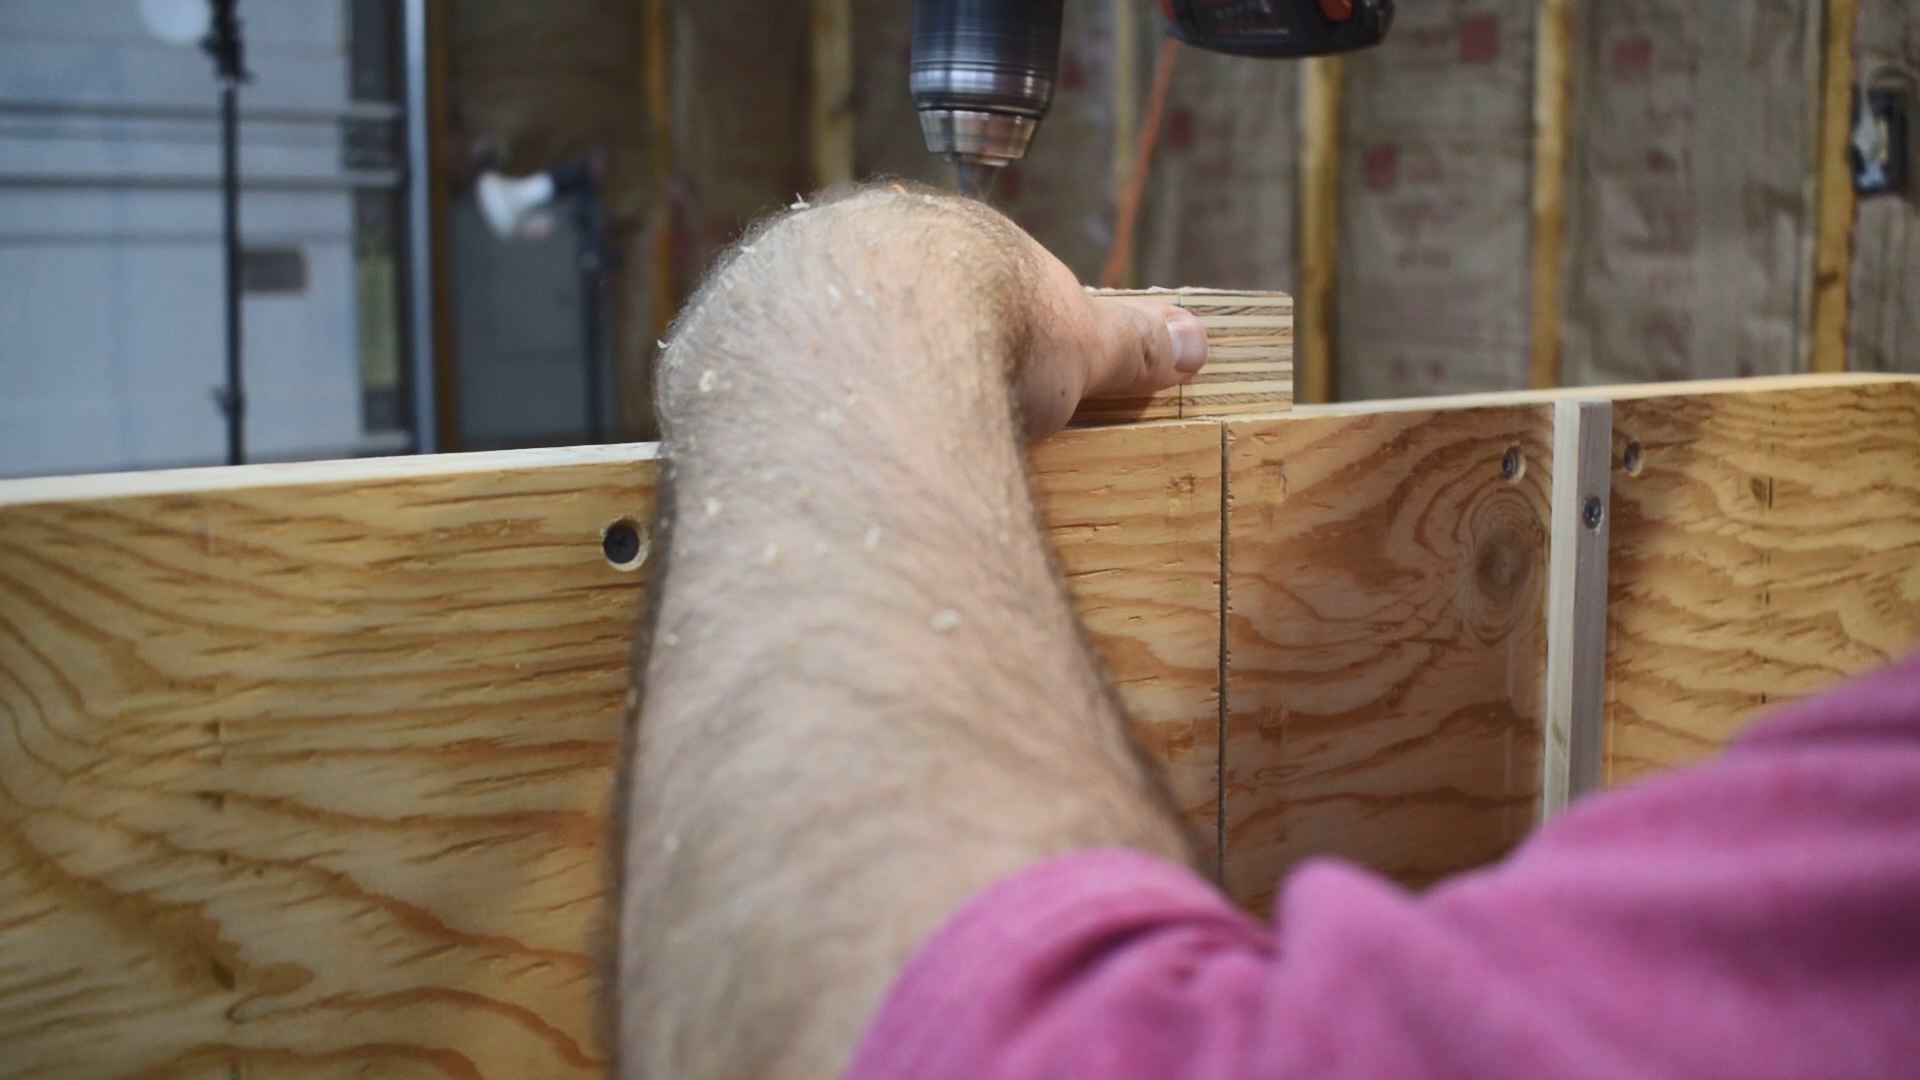
After it dried, I predrilled and added screws to the rails to make sure they never ever come off because that would be an ugly problem during a cut. Most likely, the rails will be pushed out slightly when the screws are put in. So they will be tighter in the slots than they were before the screws. If that happens, you can use a block and some sandpaper to work the edges down until they again fit into the slots tightly while allowing it to move back and forth freely.
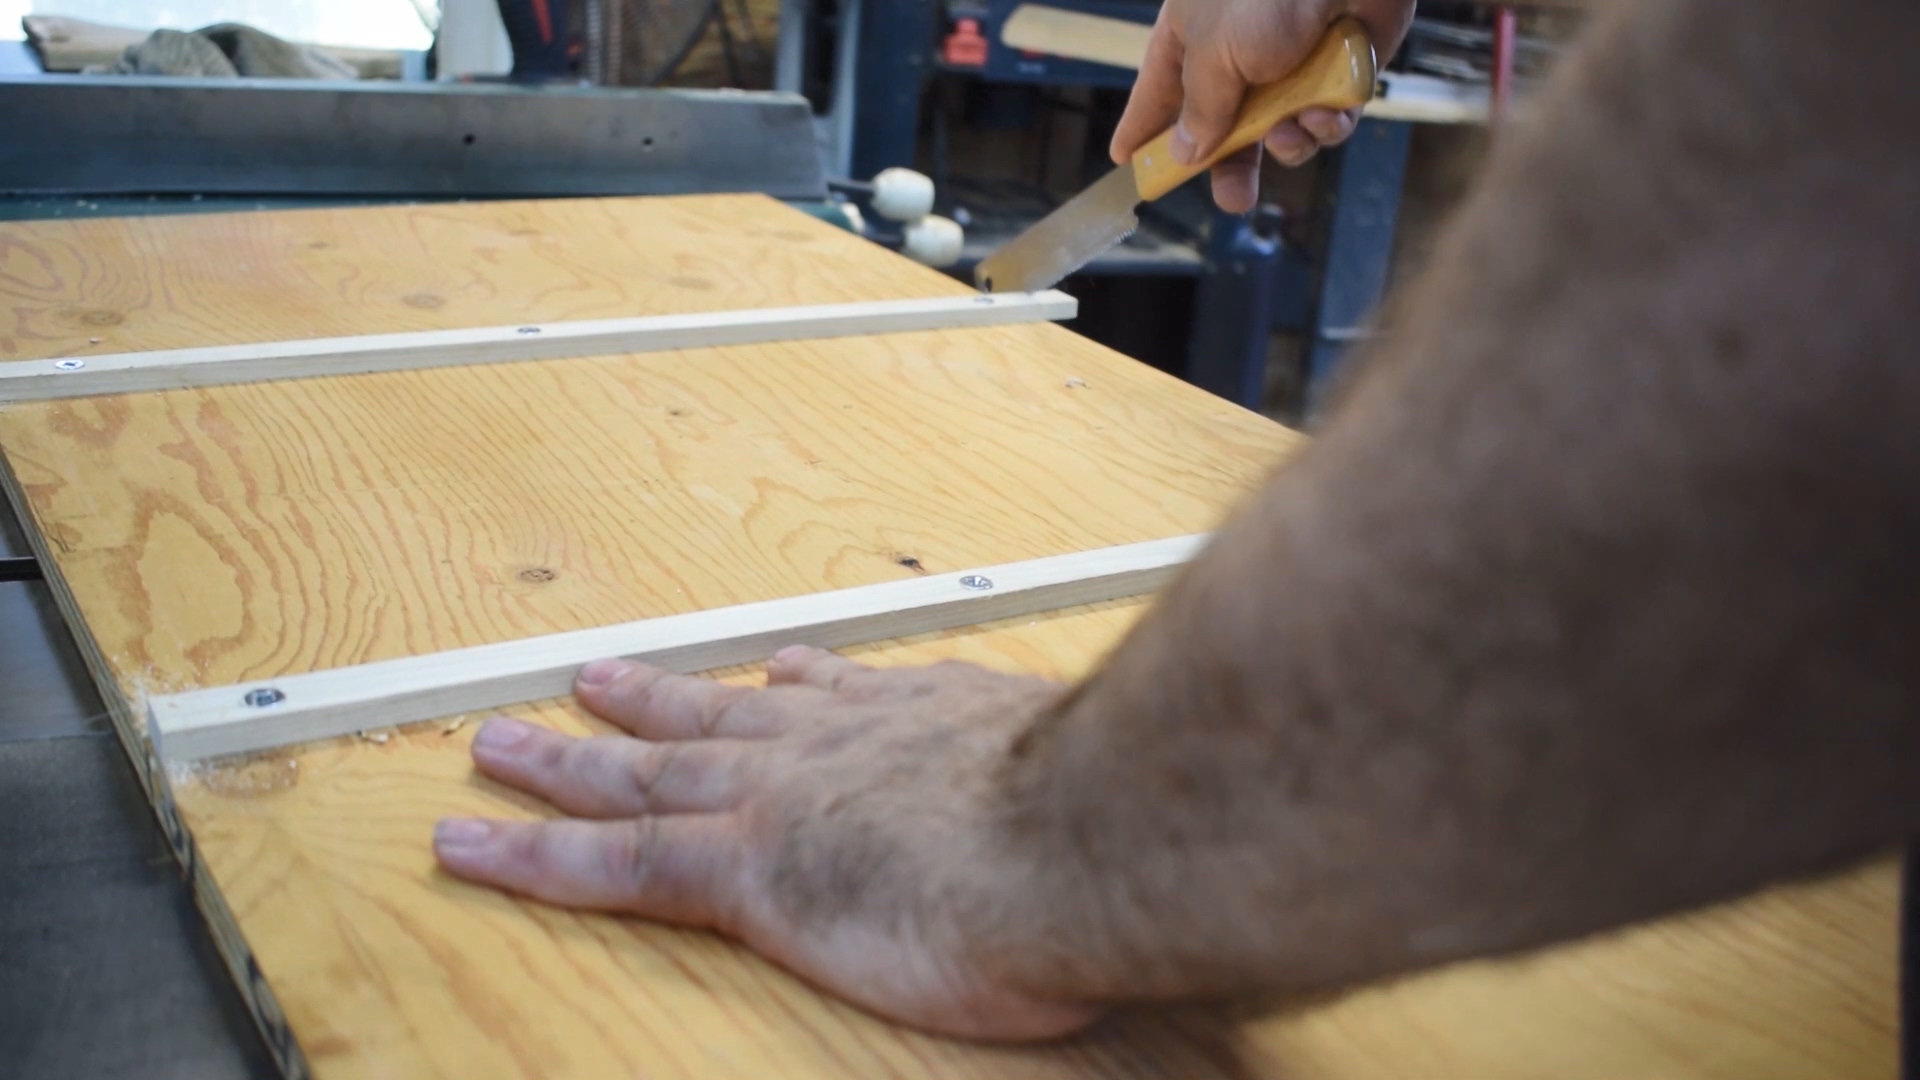
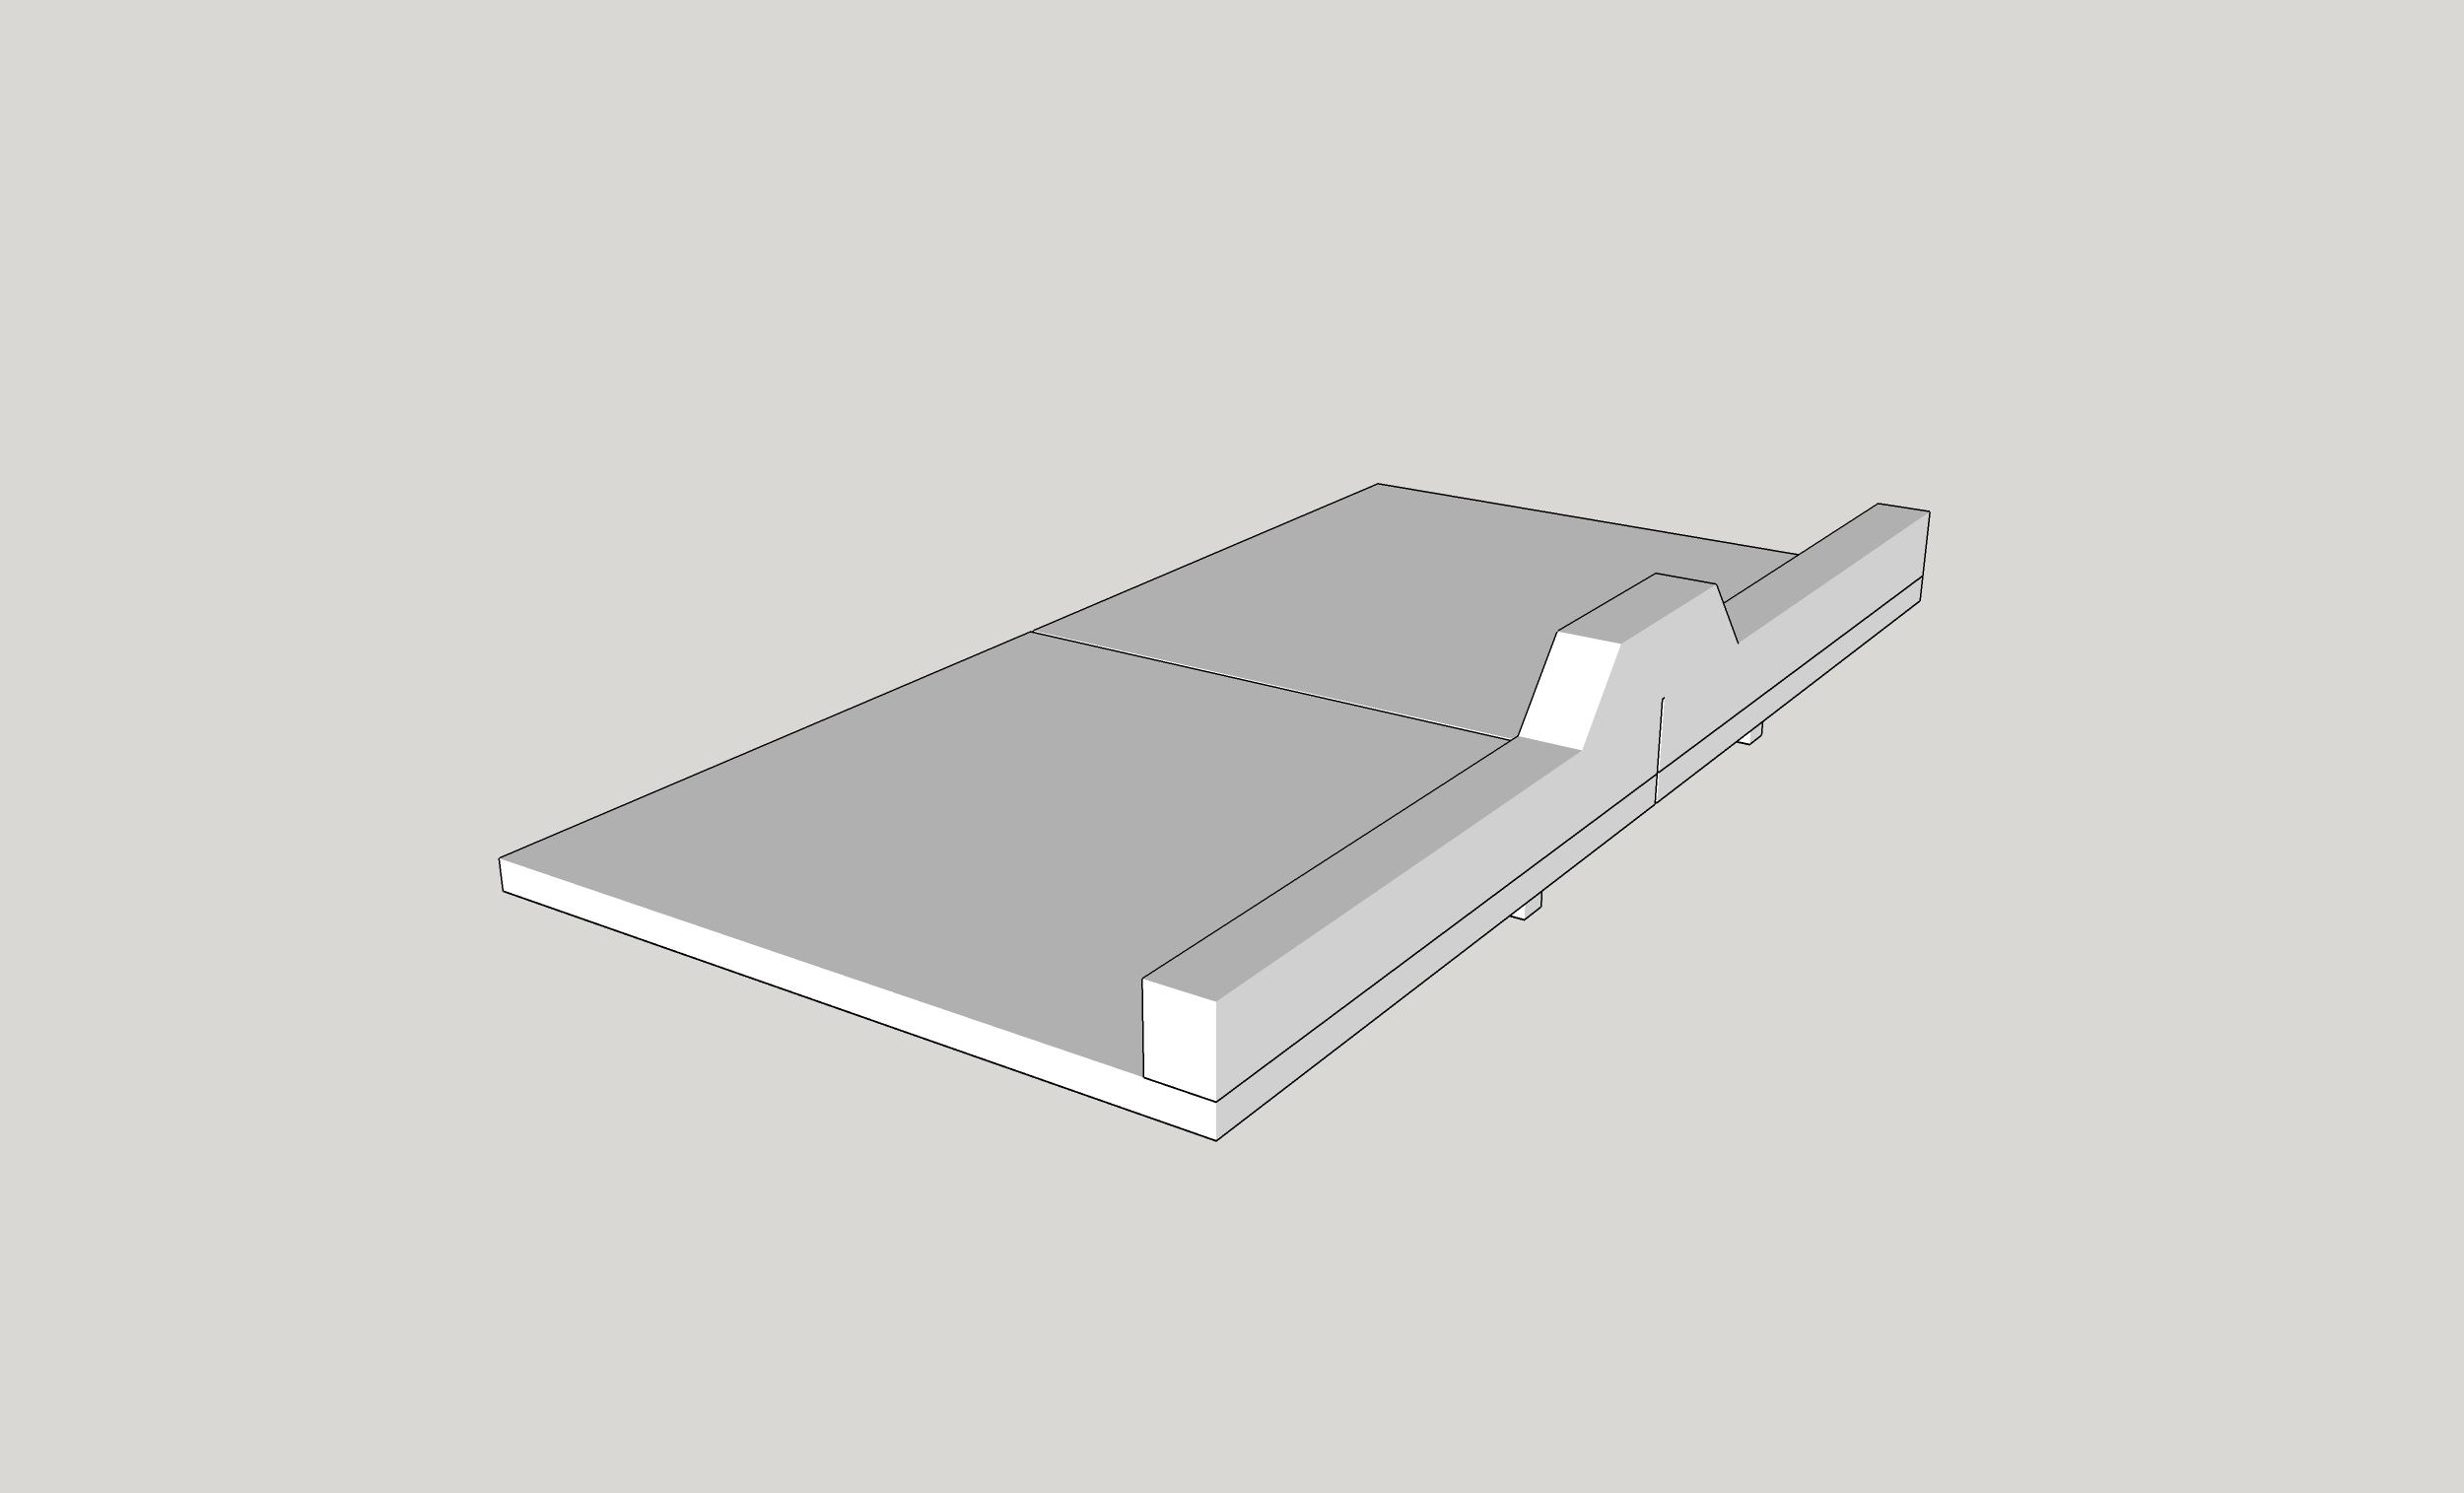
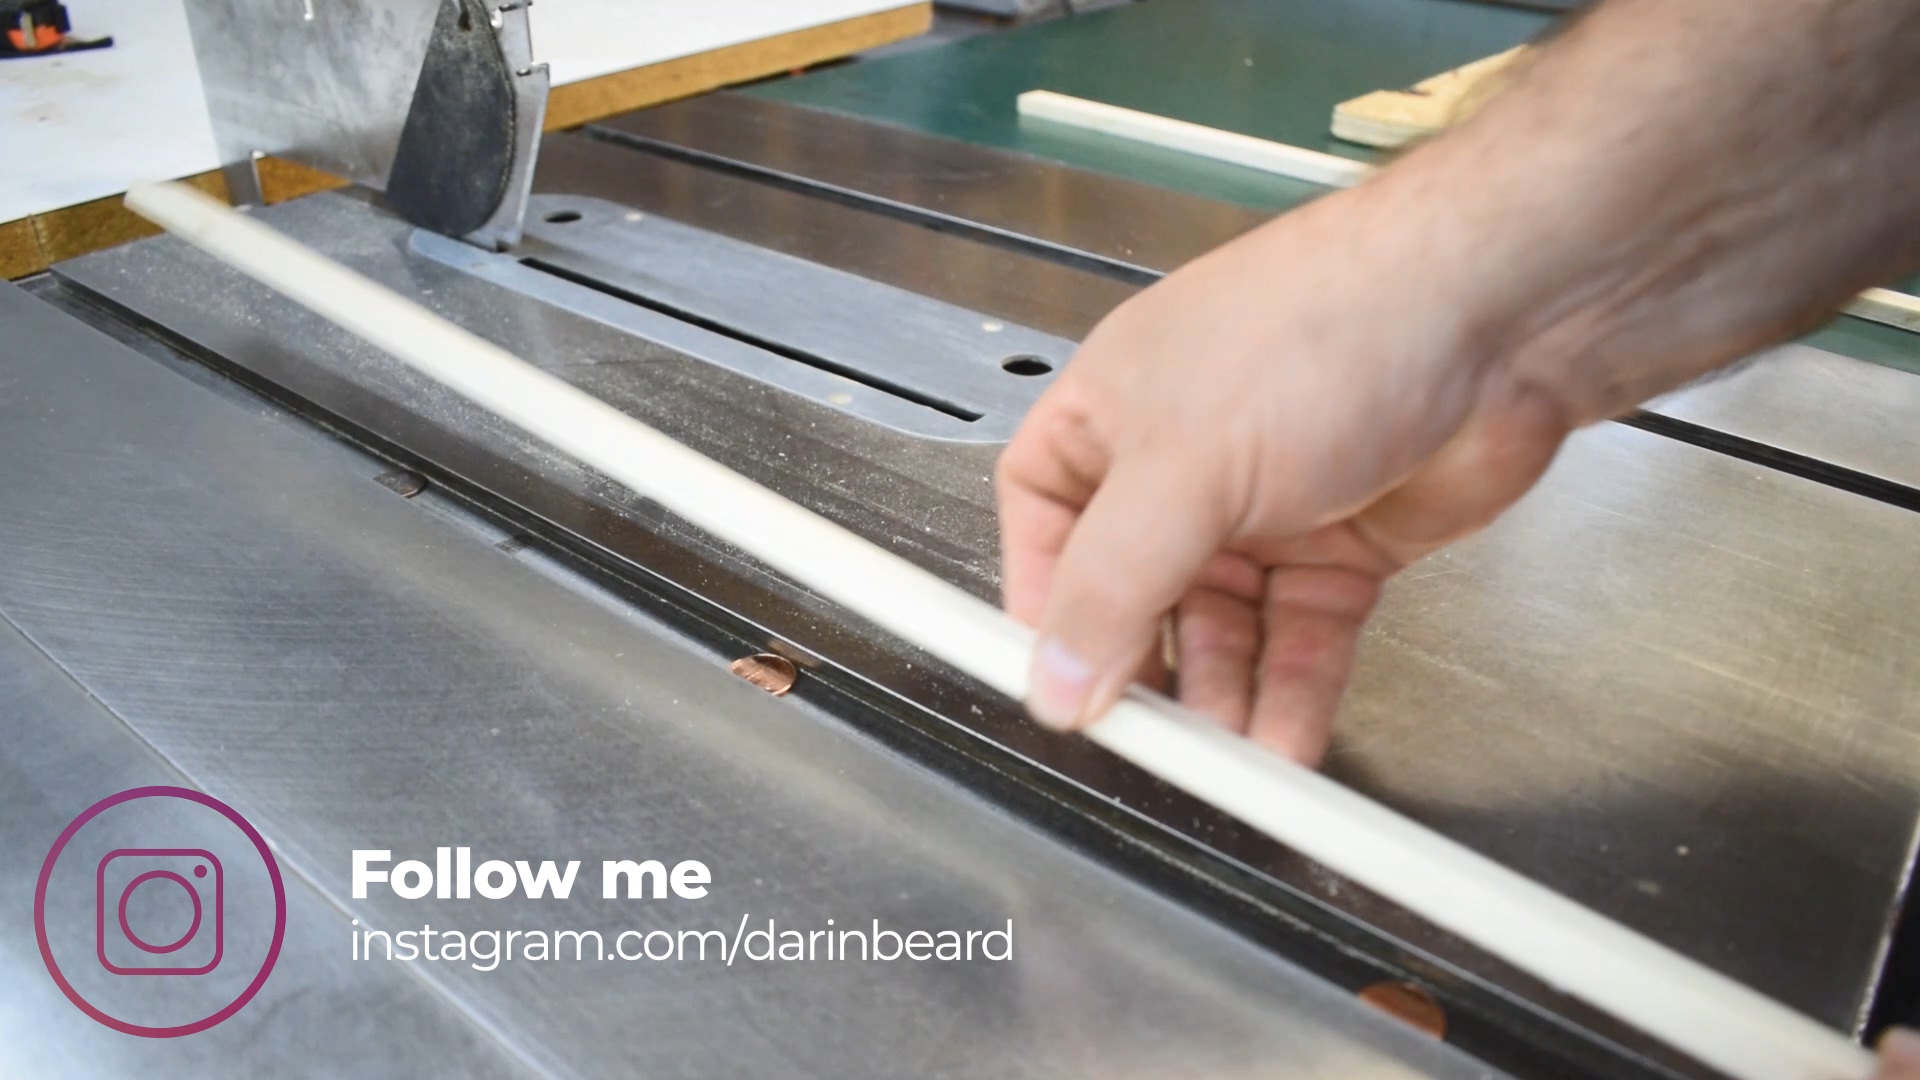
This is also the time I trimmed the rails with a hand saw to the same side as the sled.
The back fence is not critical that it be square. So I predrilled and screwed it to the sled.
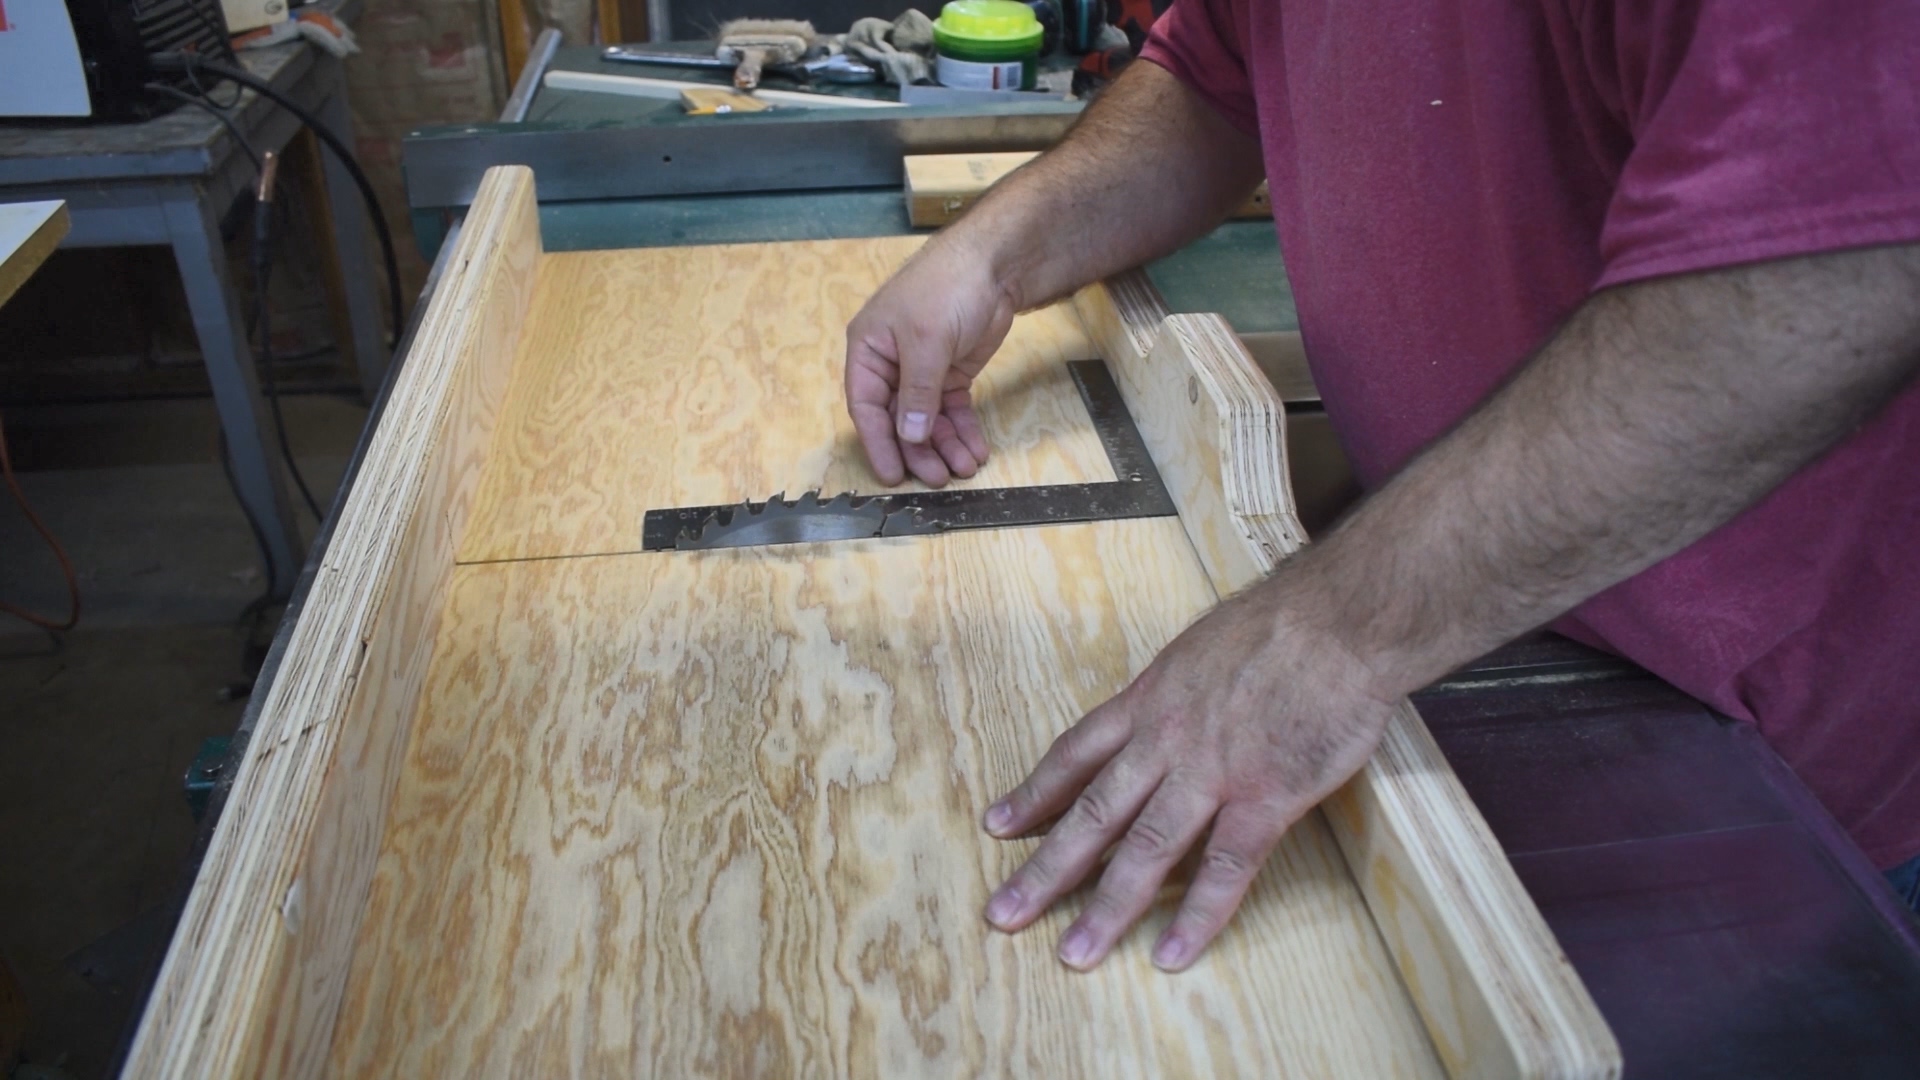
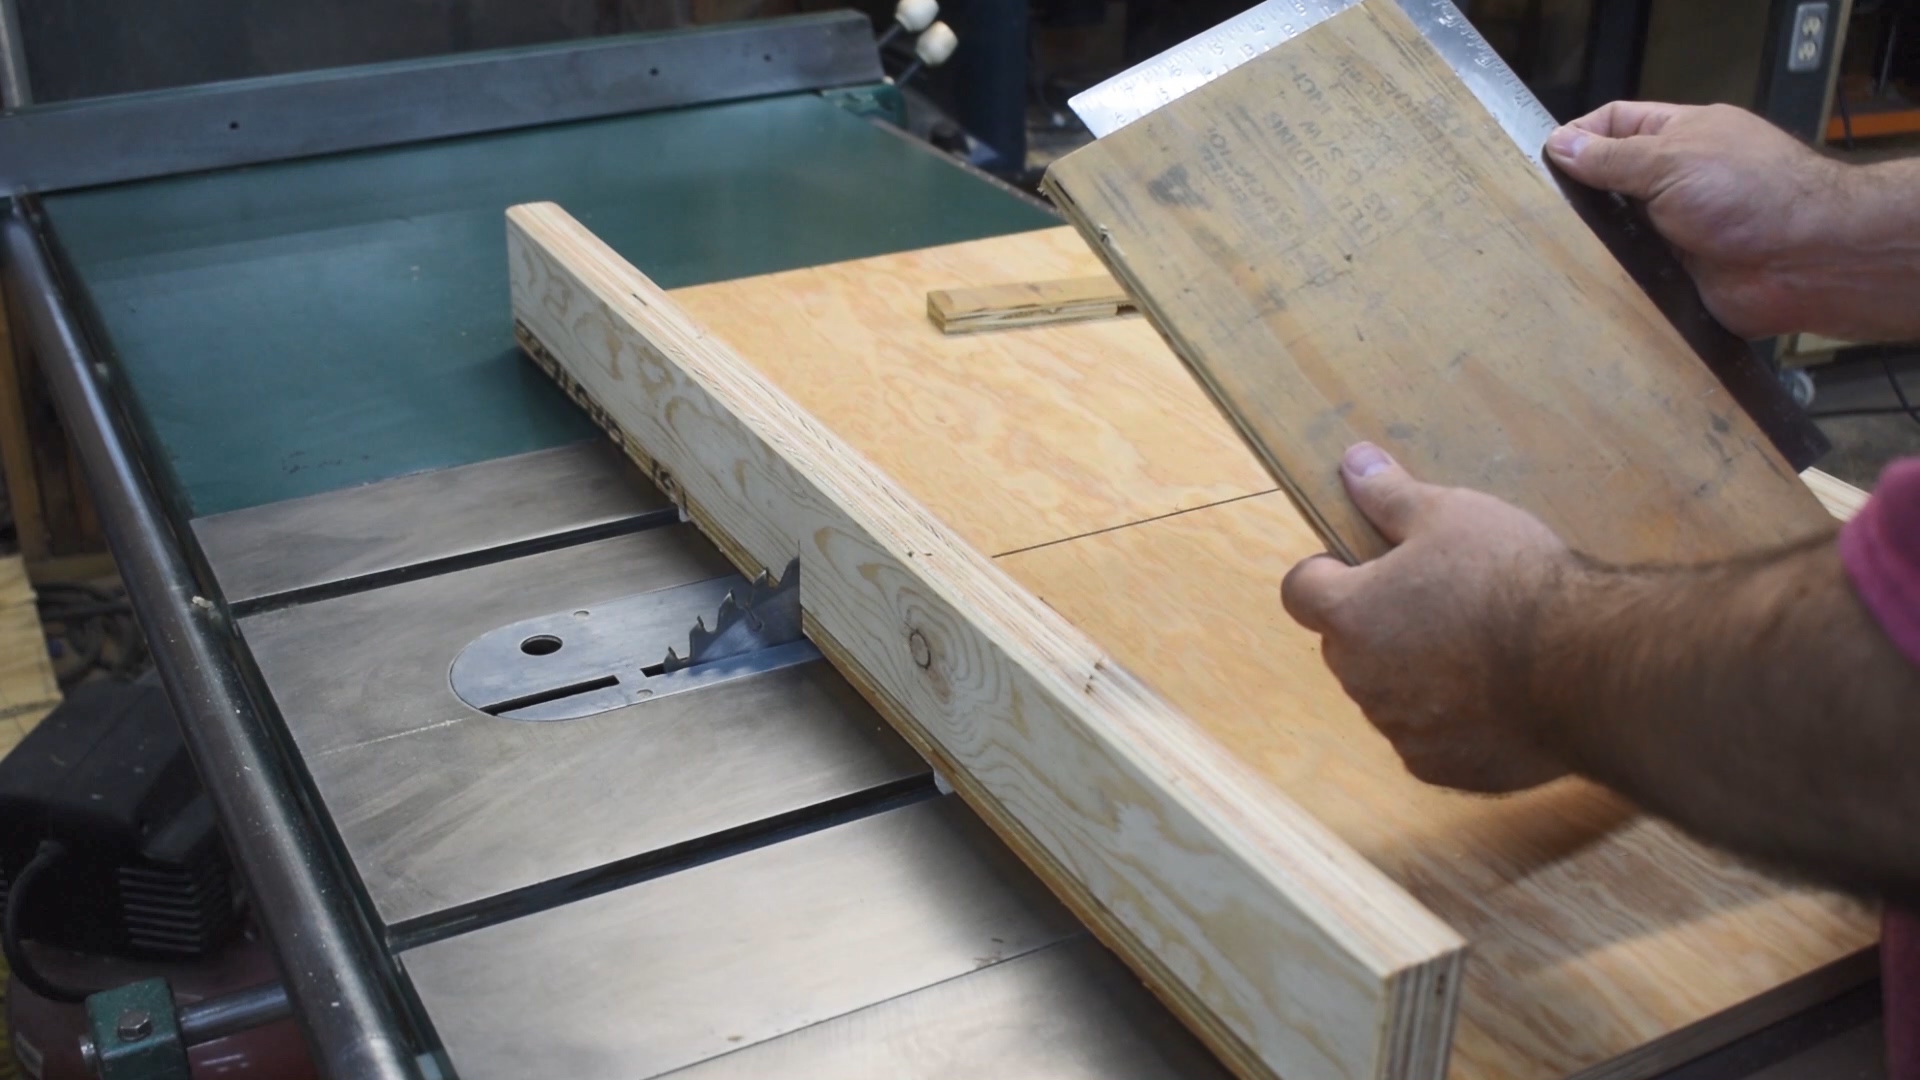
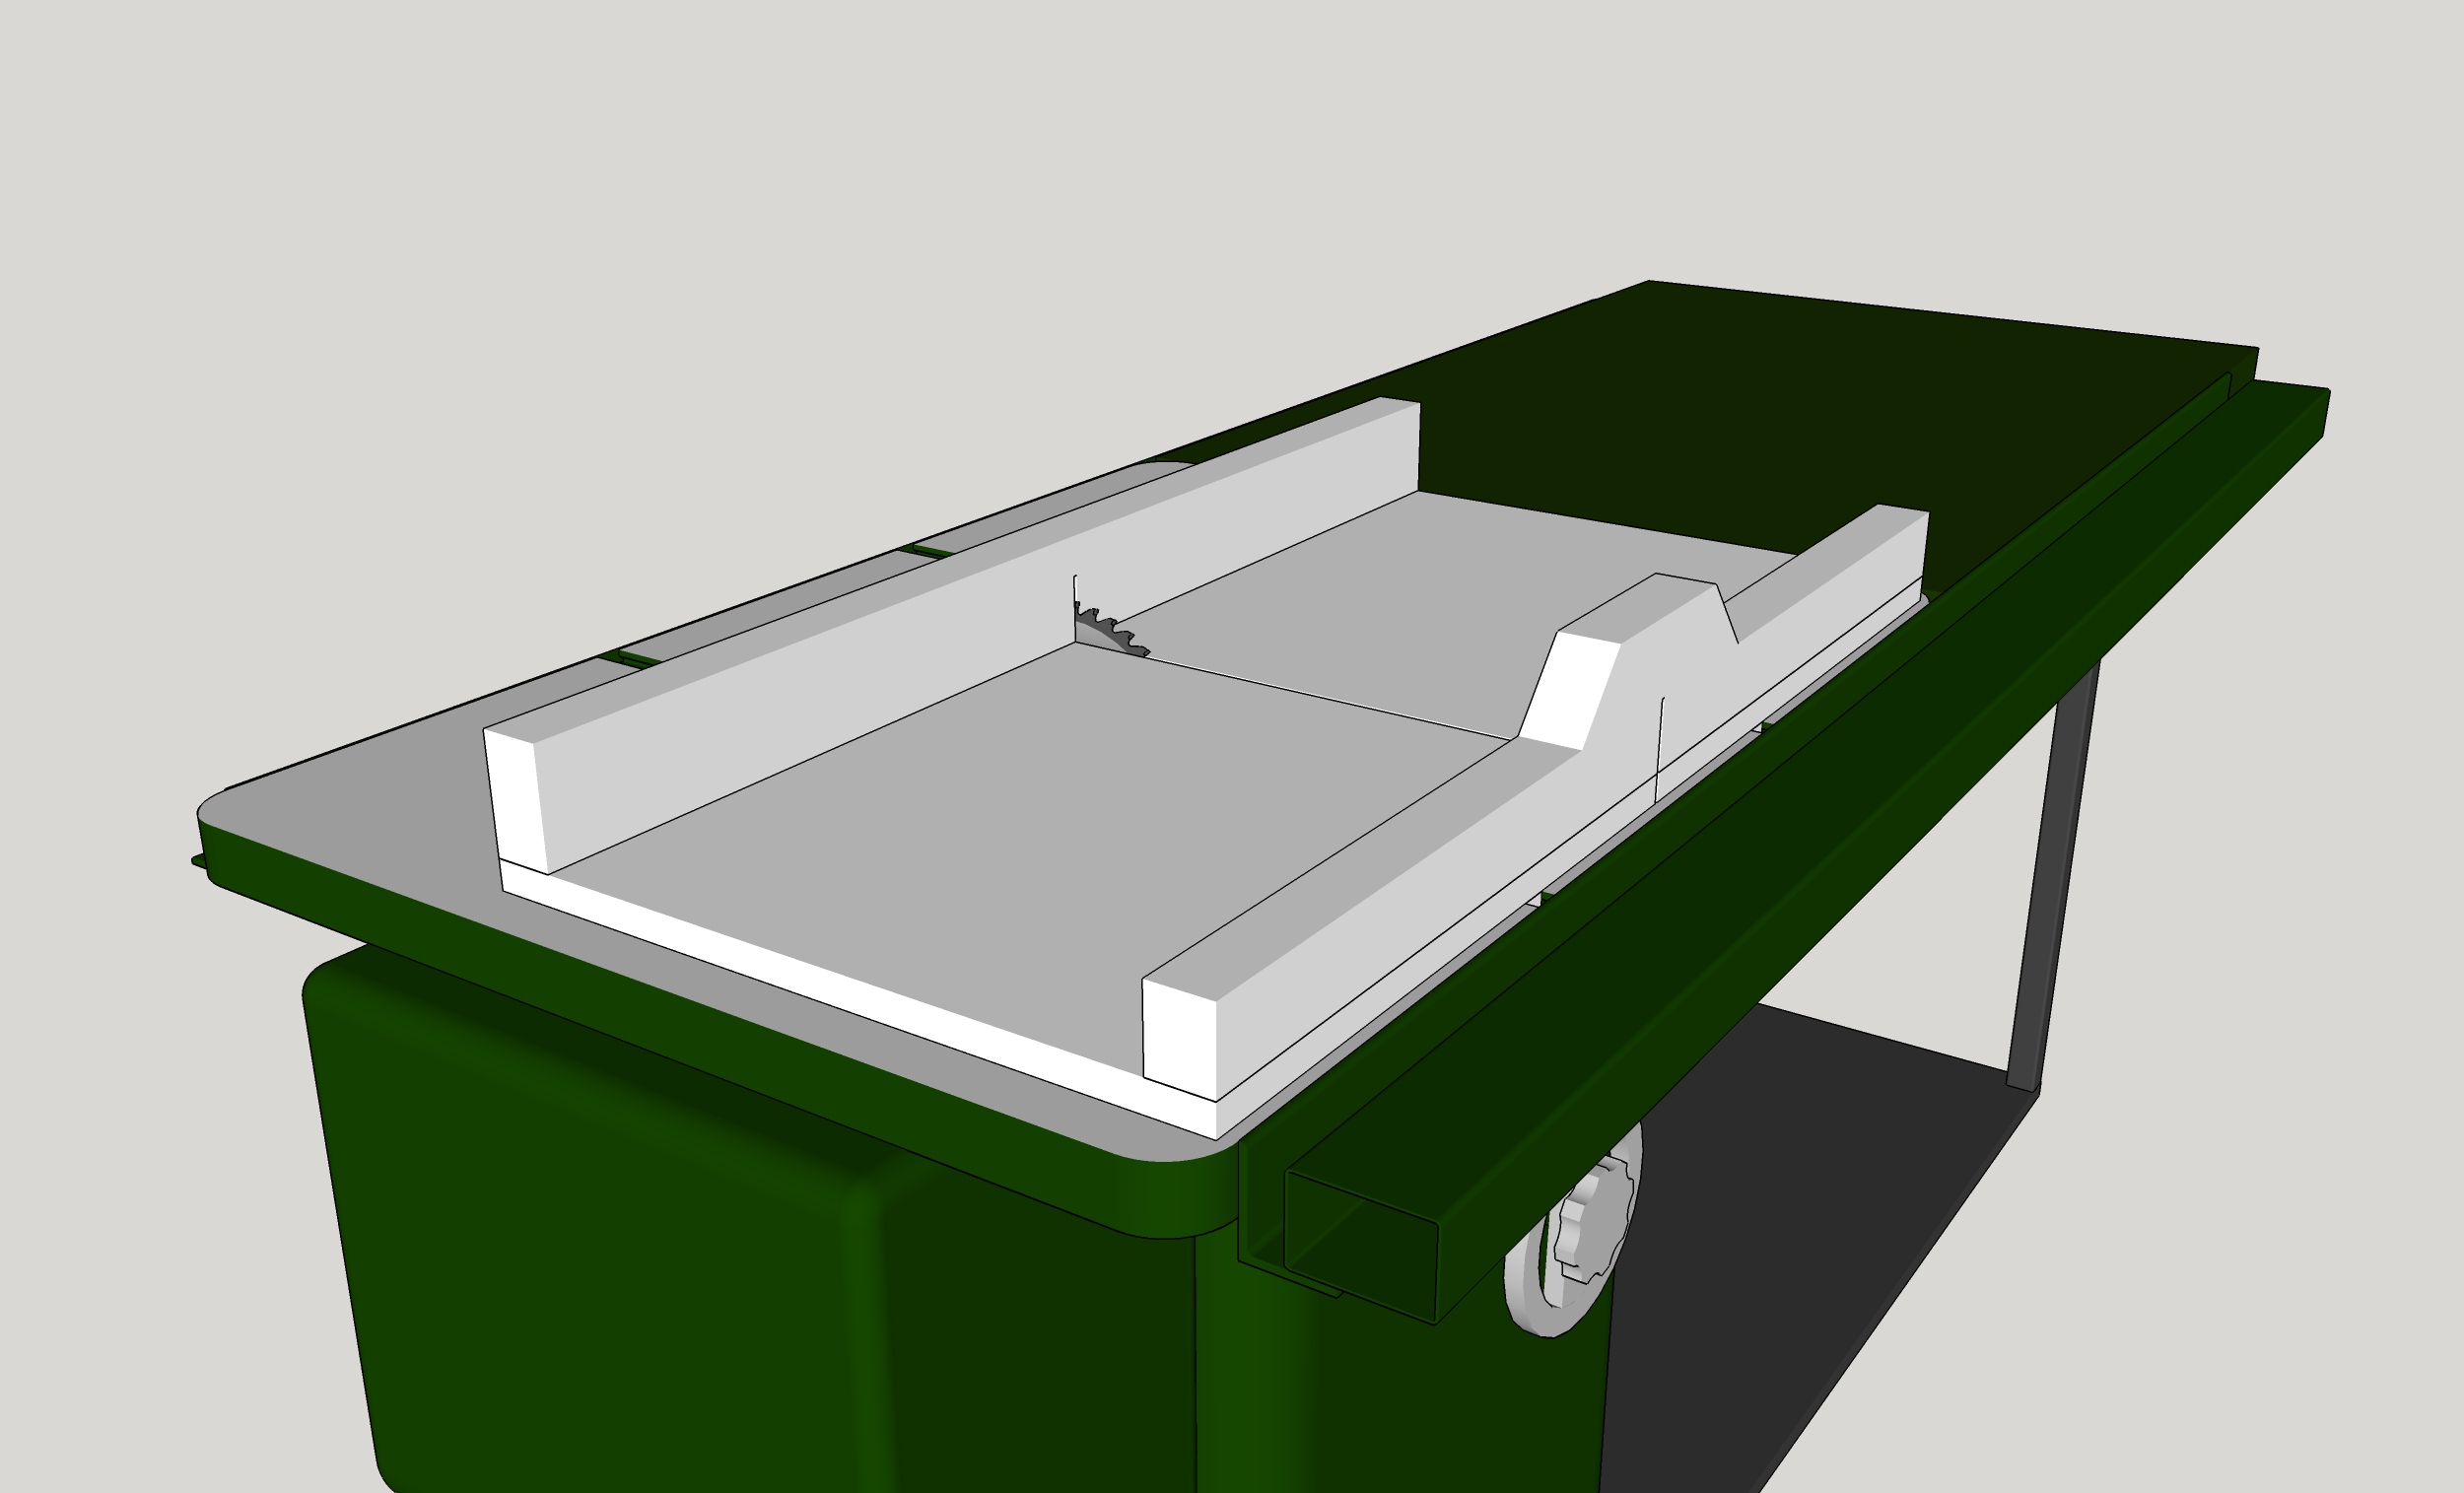
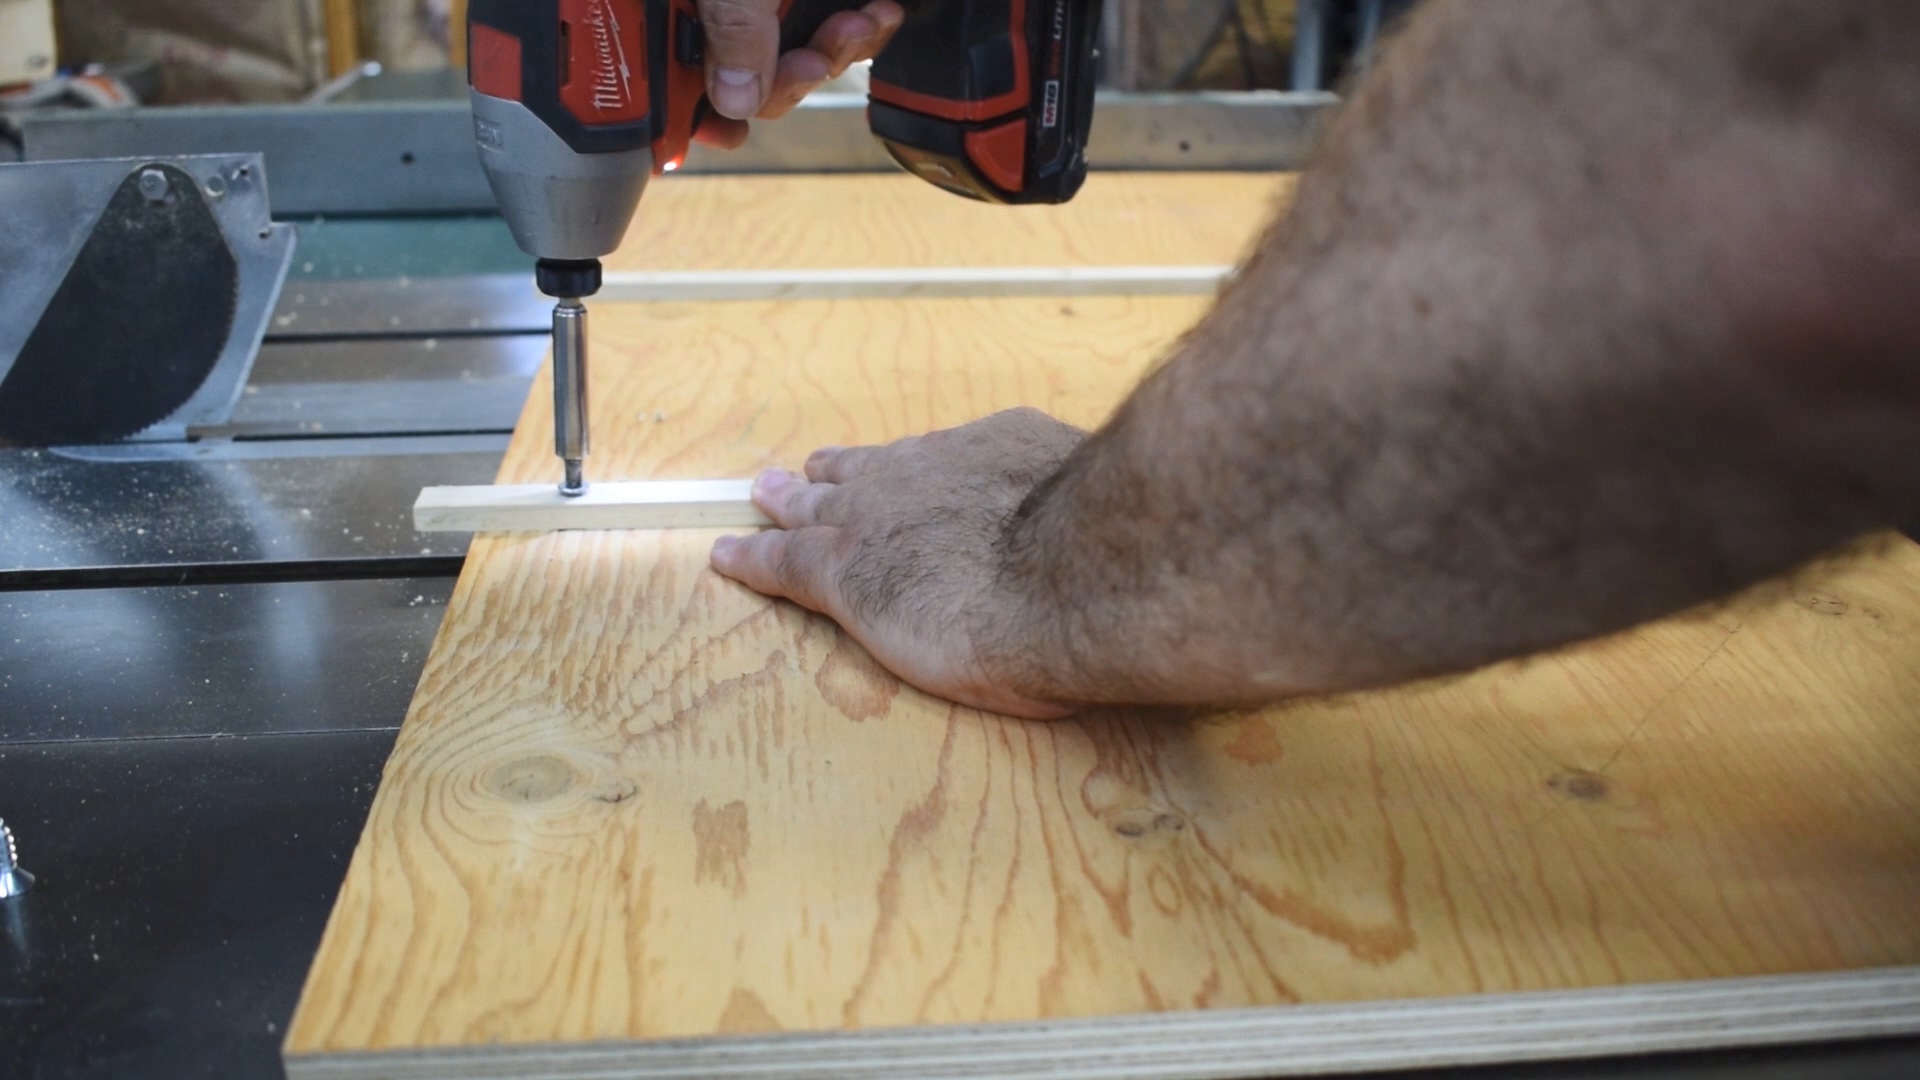
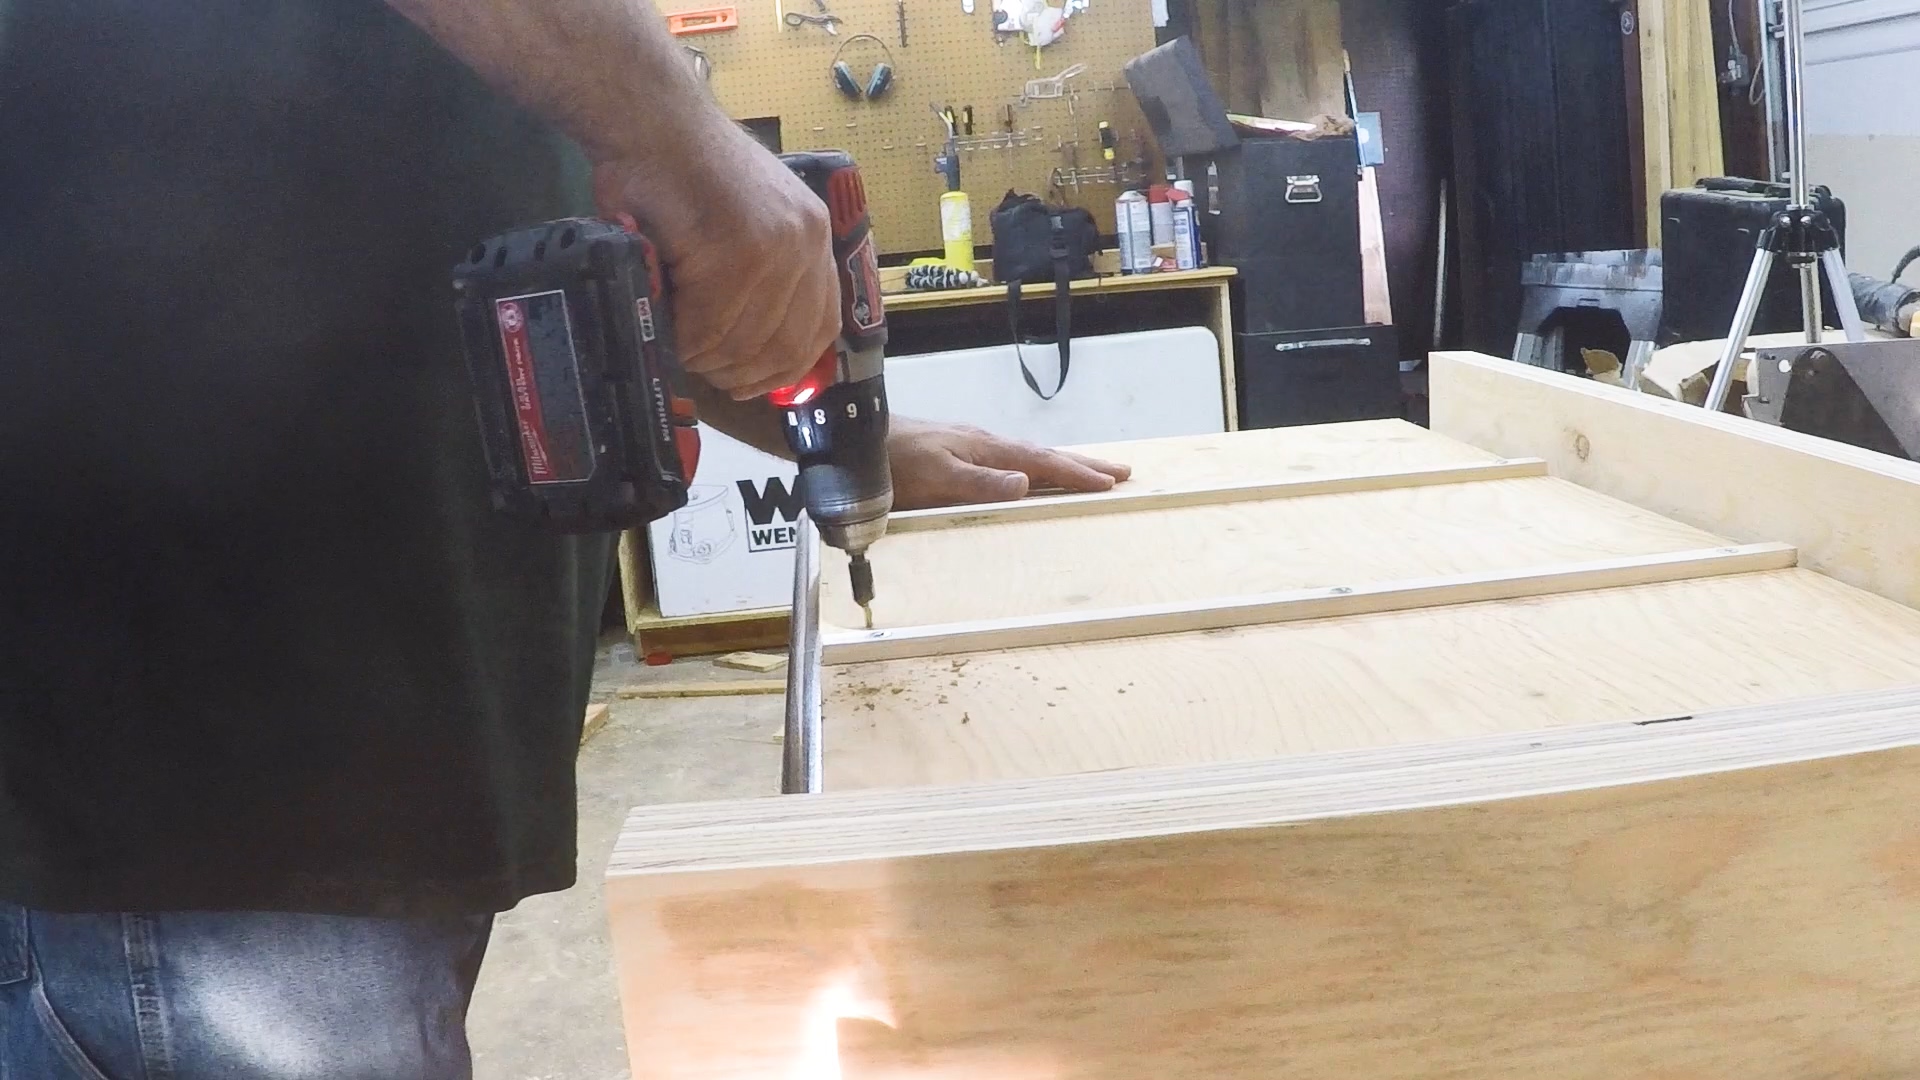
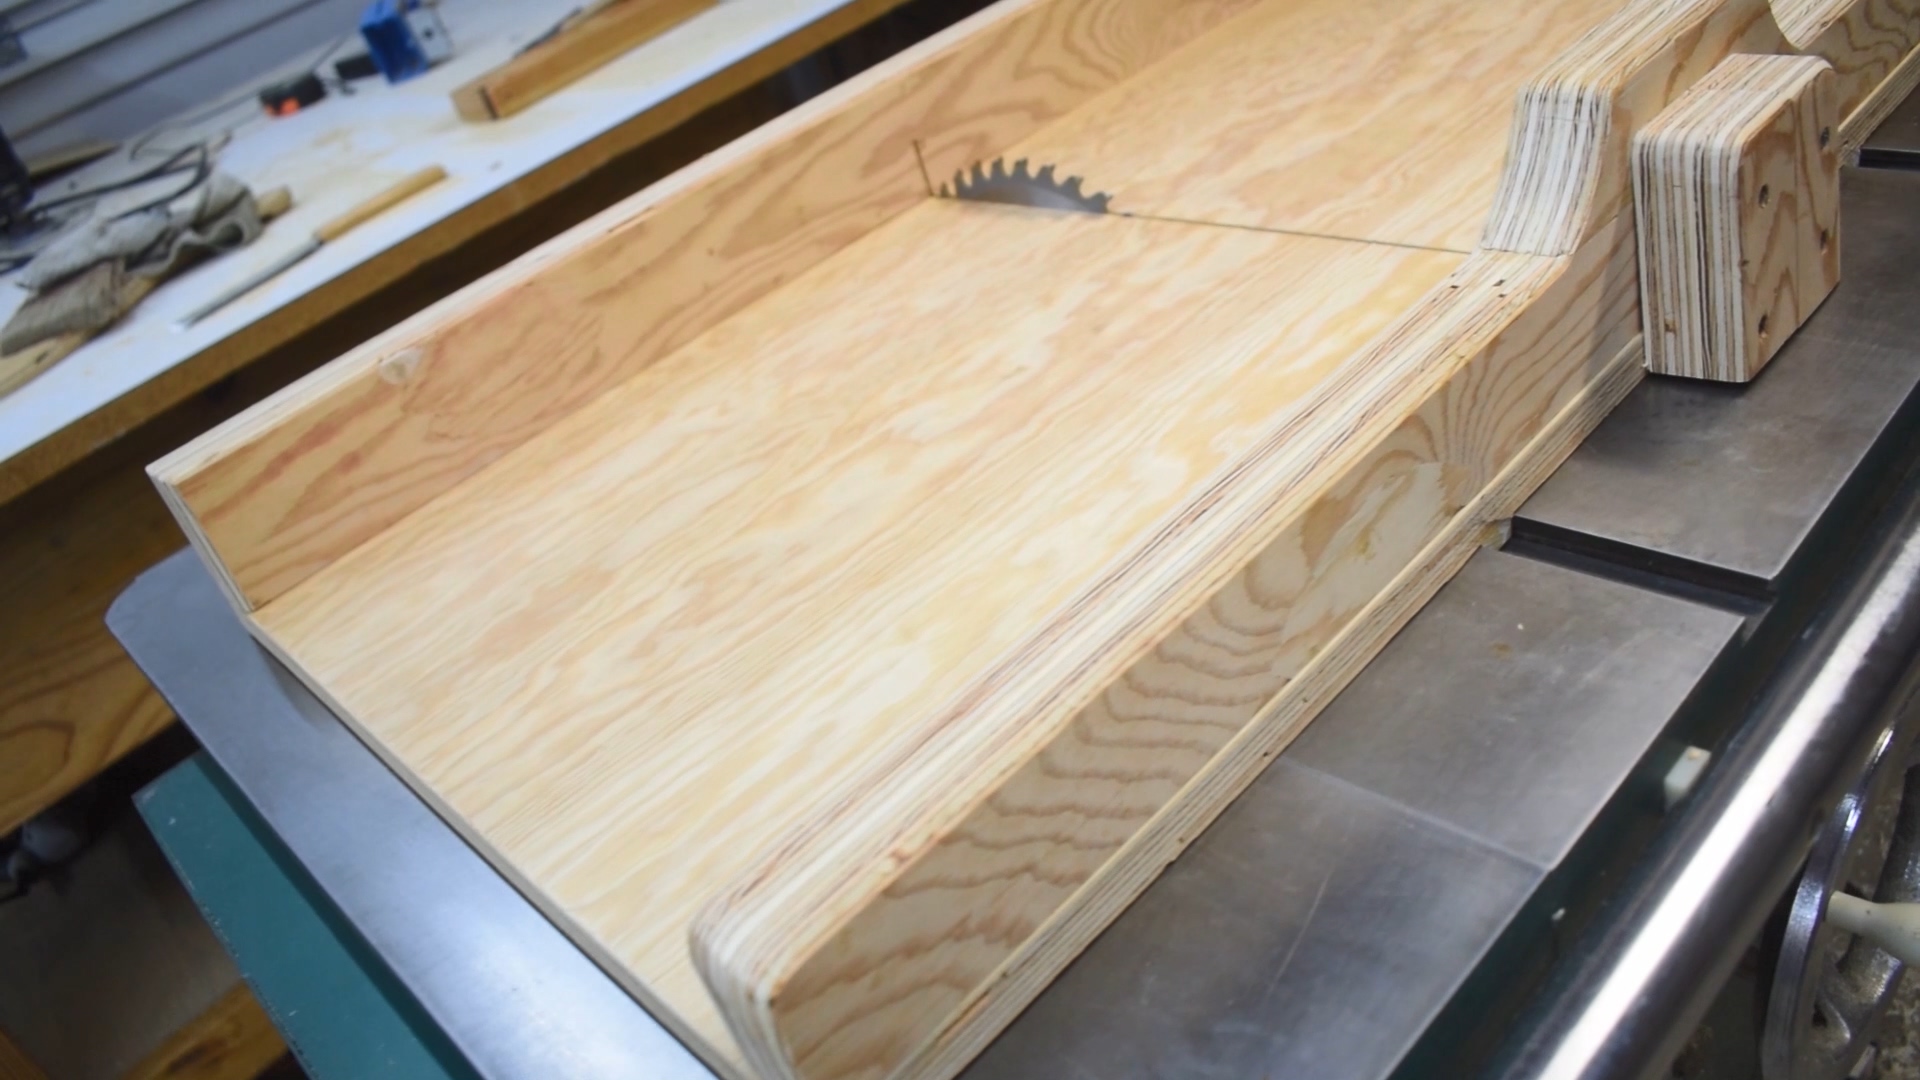
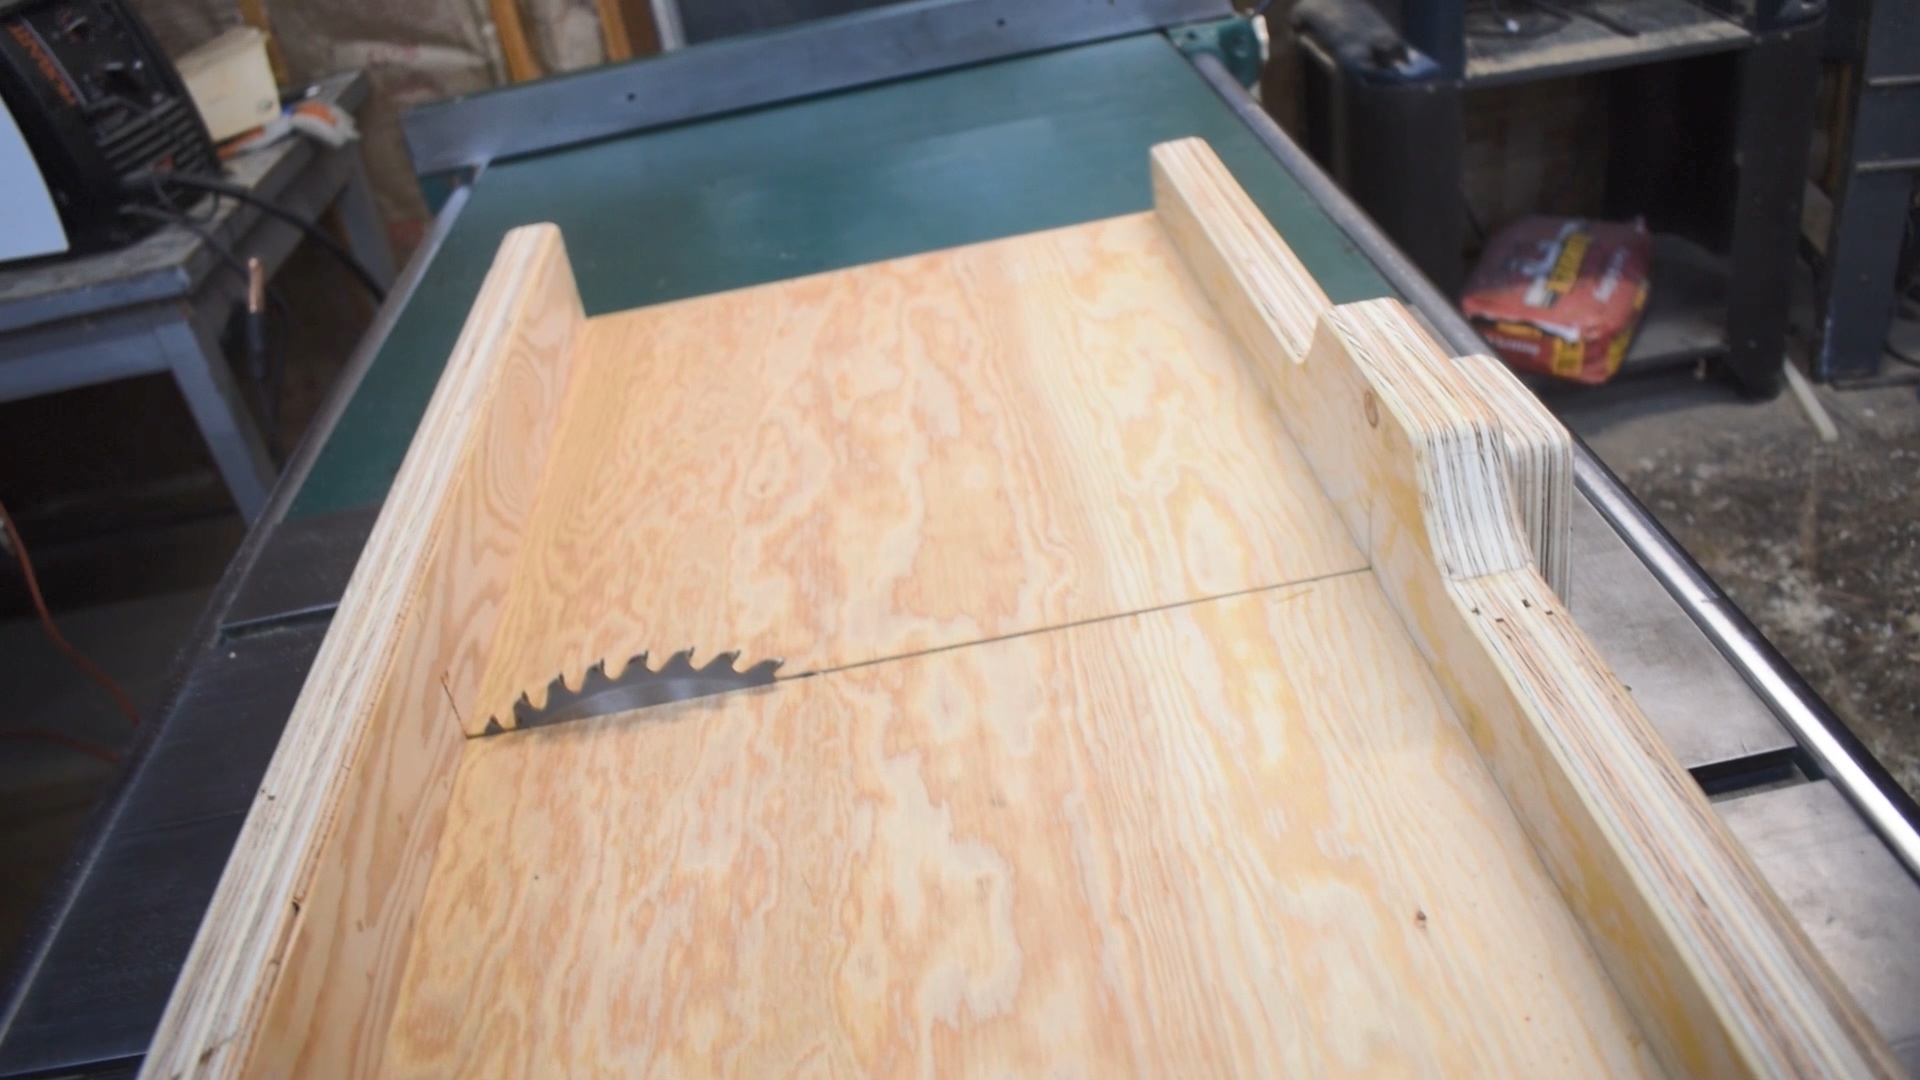
Then I put the sled on the saw, turned on the saw and pushed it into the blade, cutting through the bottom until the blade was about 6" from the front of the sled (the side closest to me). This is so we can square the front fence to the blade, which is critical to square cuts on the sled. There is a method called the 5-cut method that is a very precise way to square your fence to within thousandths of an inch. I did not use that. I used a good square and the blade to square the fence. Not as precise but good enough for how I use it. So I put one screw in the front fence on one end so it can rotate. I turned it over and used the square to get the fence as square as I could to the blade. Slid it back and clamped it without letting it move. Then put the screws into the rest of the fence. I made a test cut and checked it with the square and it was spot on.
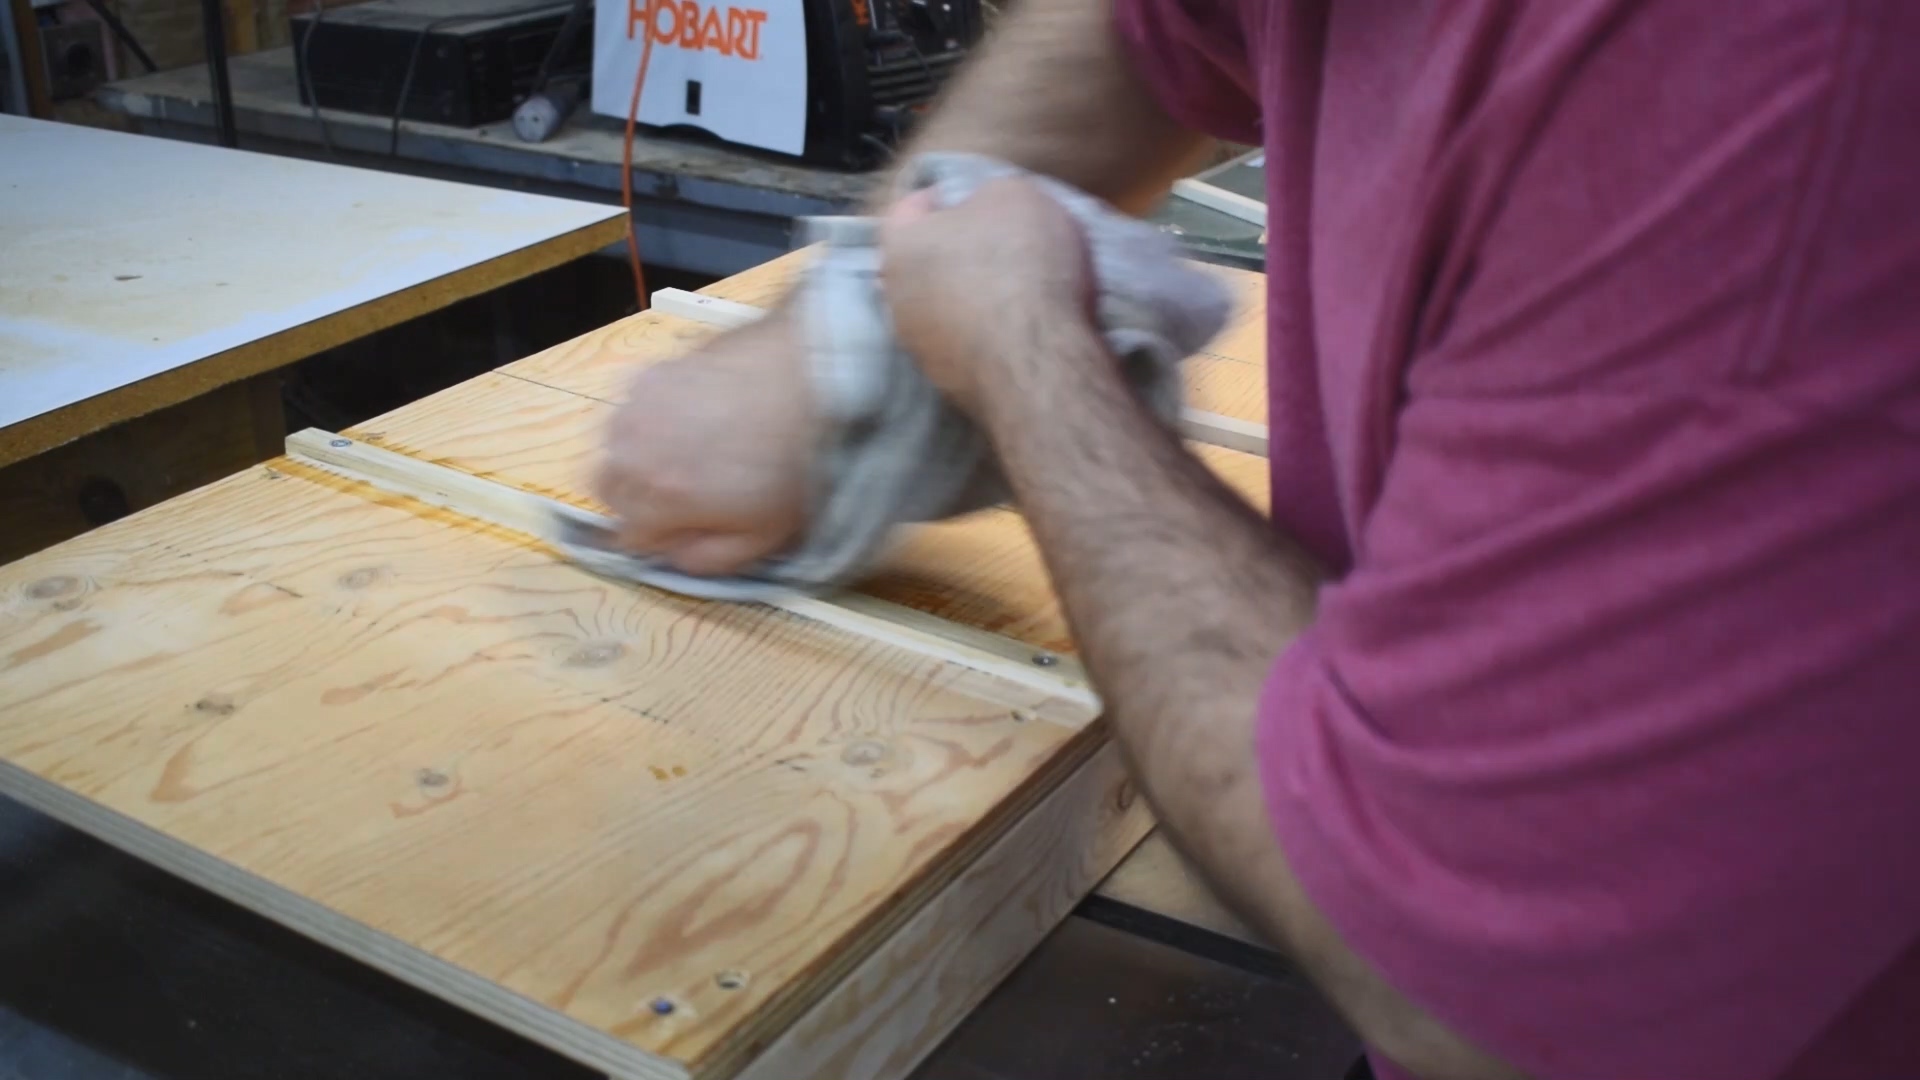
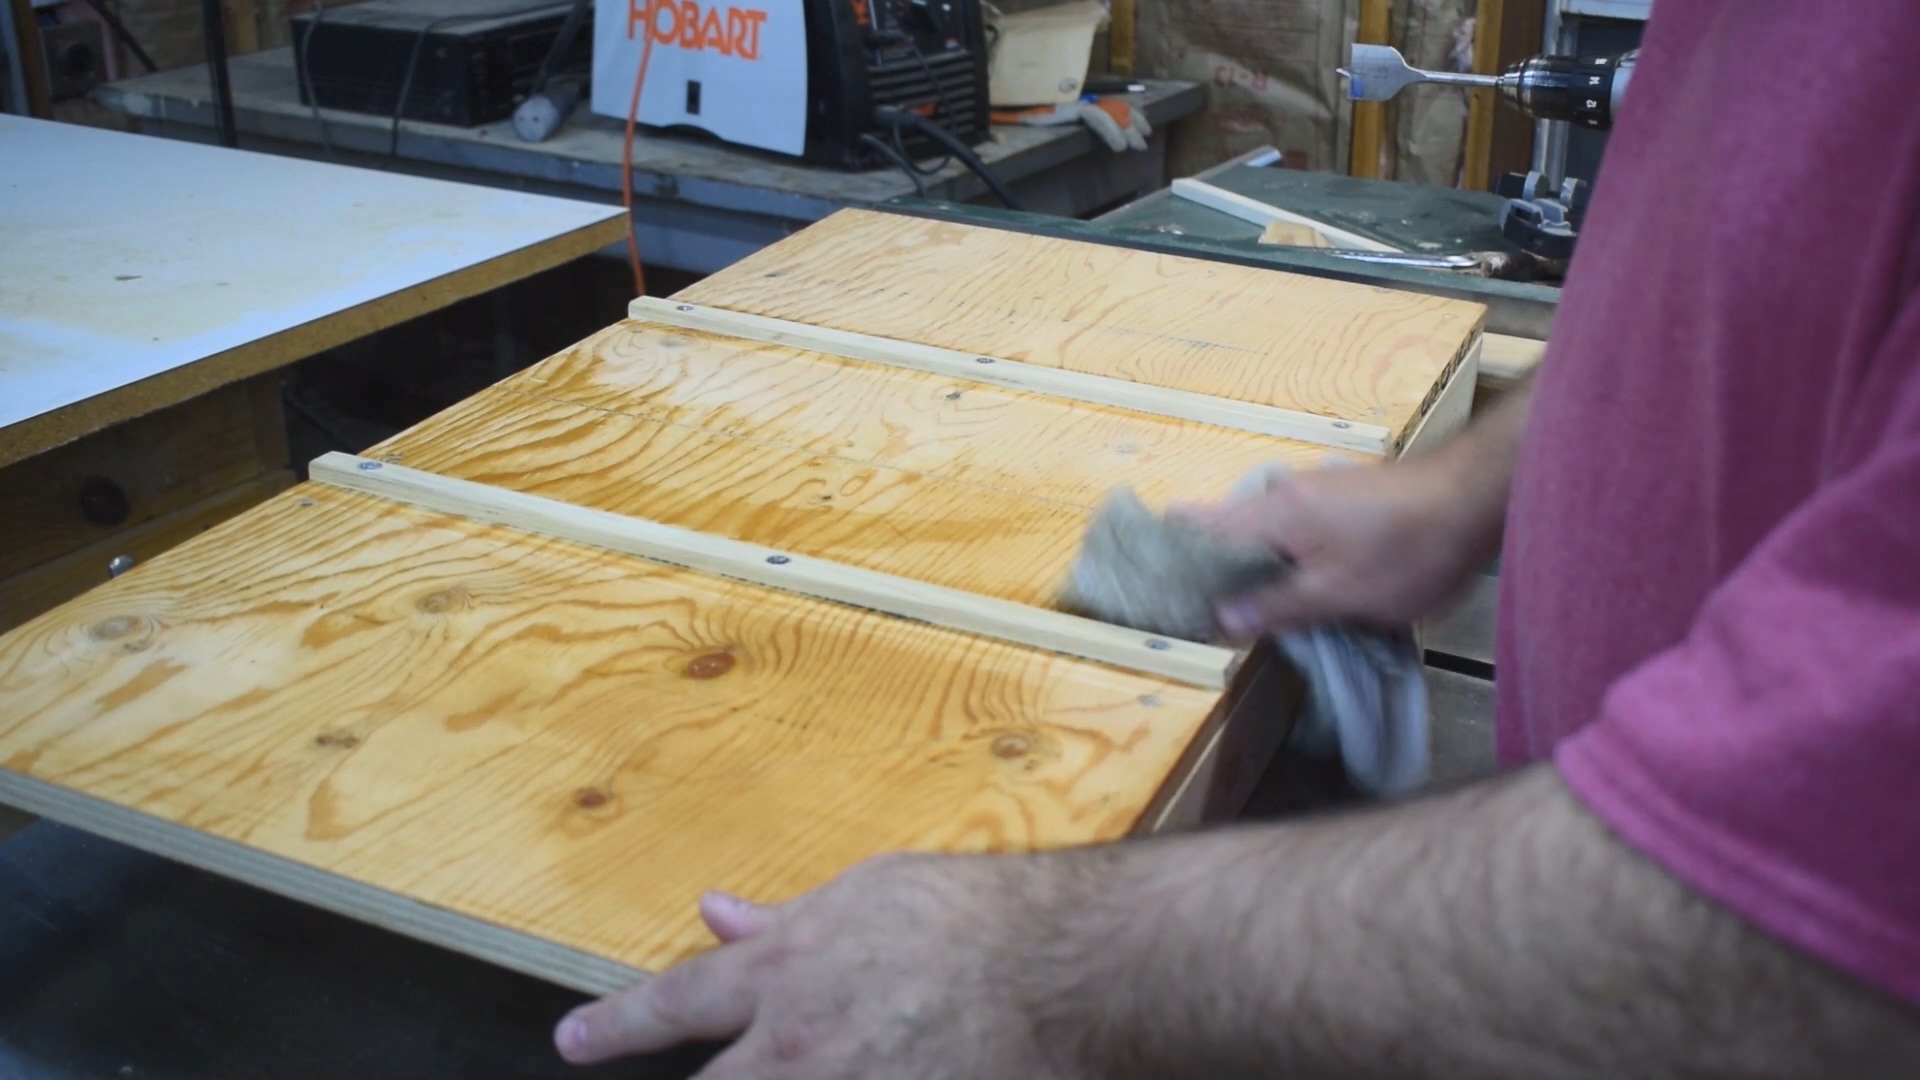
Then I took some paste wax (home depot link or Amazon link) and covered the rails and entire sled bottom. This helps it to slide on the top of the saw.
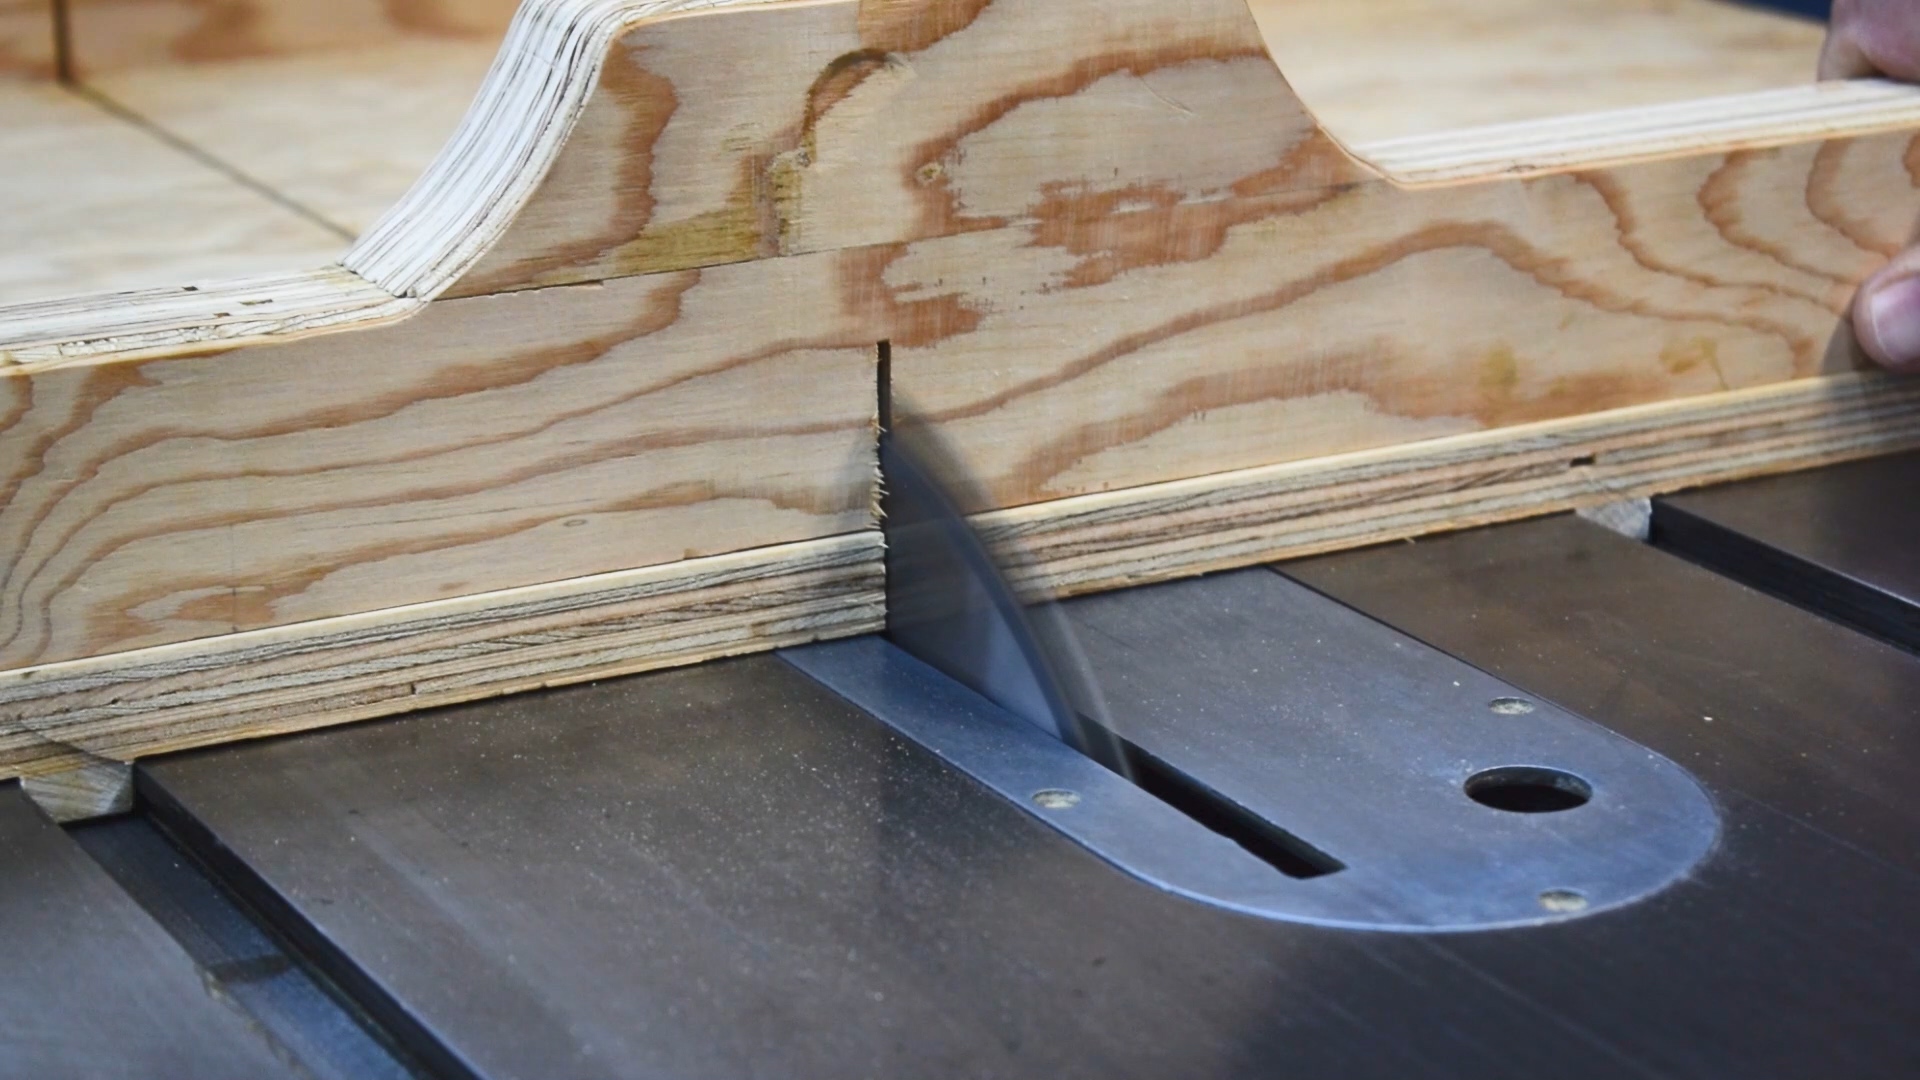
There is this area on the front side of the sled where the blade appears after you make a cut. If you forgot and leave your hands there...

You don't want that.
So many people add some sort of block or box to the back of the sled that helps to cover where the blade comes out as well as serves as a reminder not to put your hands anywhere near there.
There are many things that can be added to "fancy" the sled up or give it more features. T-Track, clamps, hold downs, stop blocks, miter jigs, etc. There are also a million videos out there on all those fancy features. Explore and see what would serve your needs.
If you want to see the video of this build...